
Last updated November 2, 2026
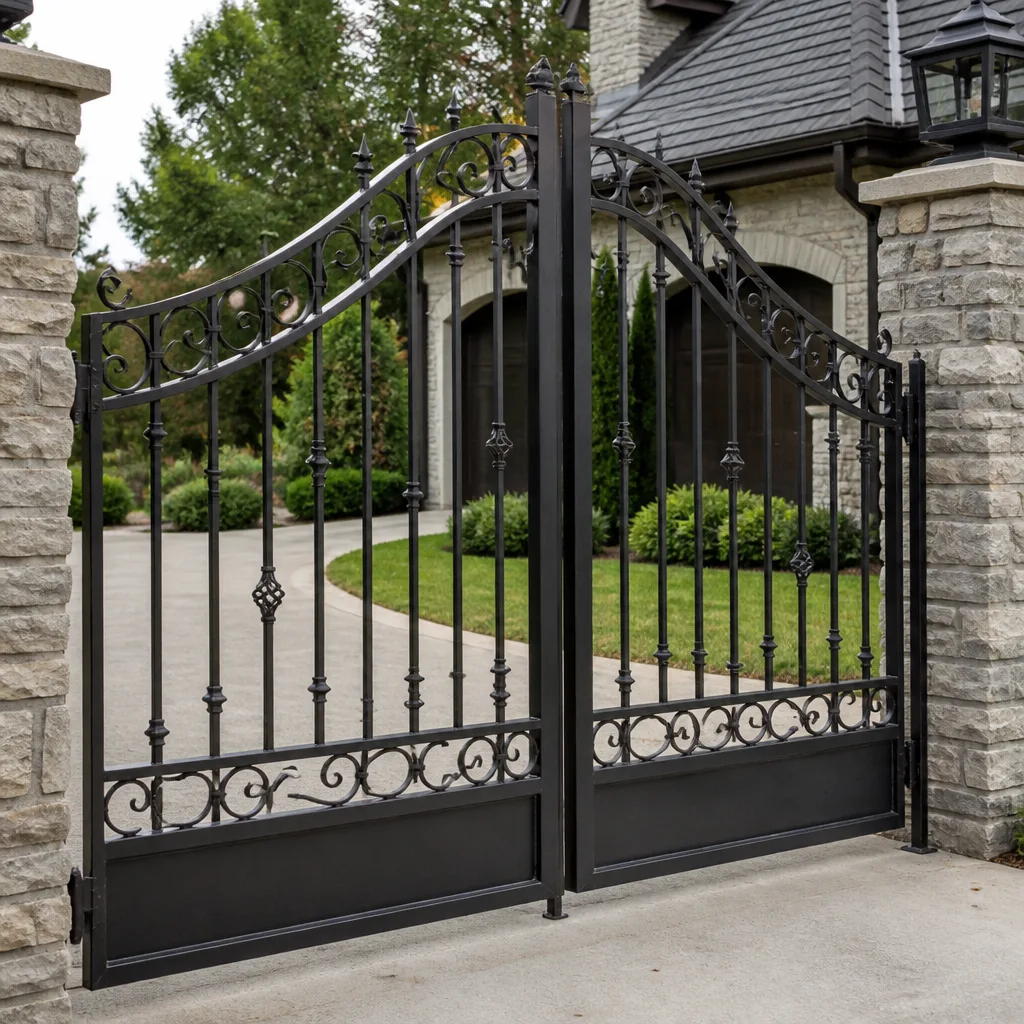 Wrought iron
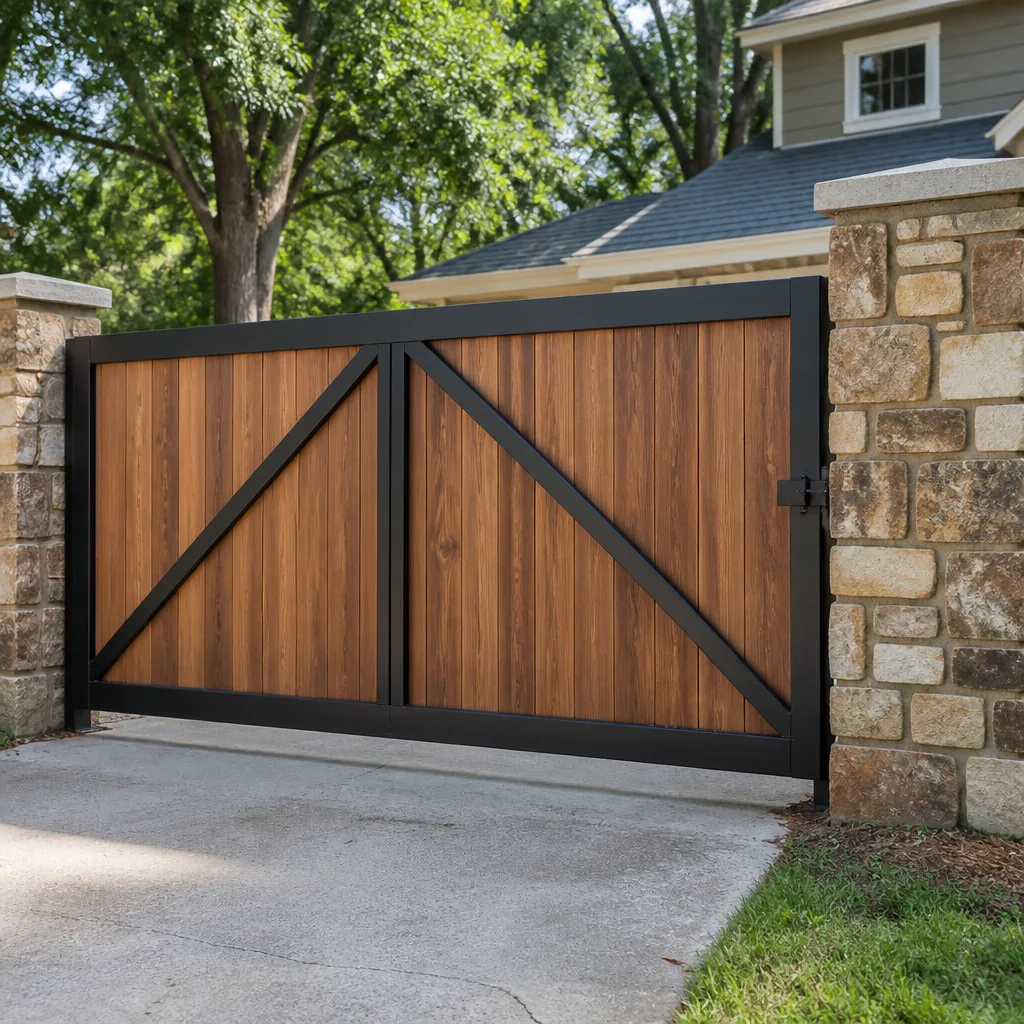 Wood & steel frame
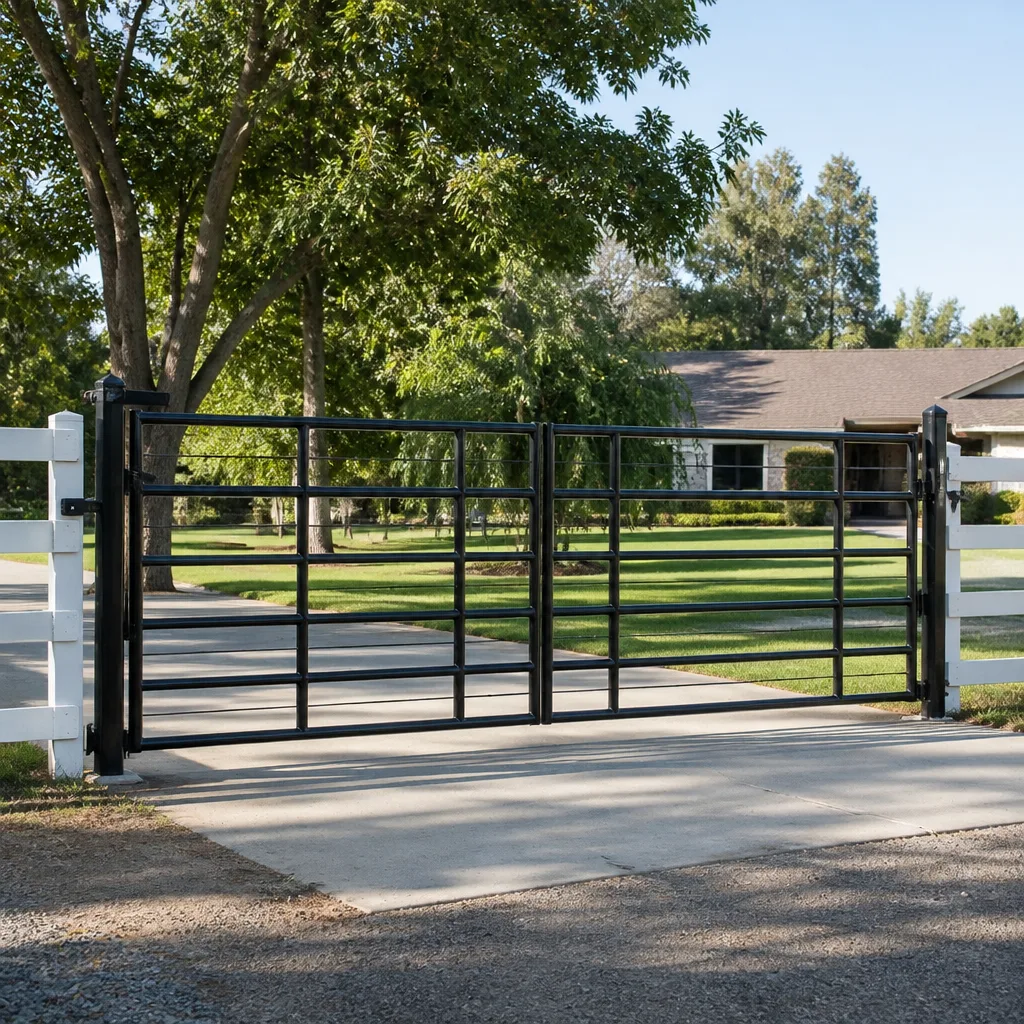 Farm & ranch
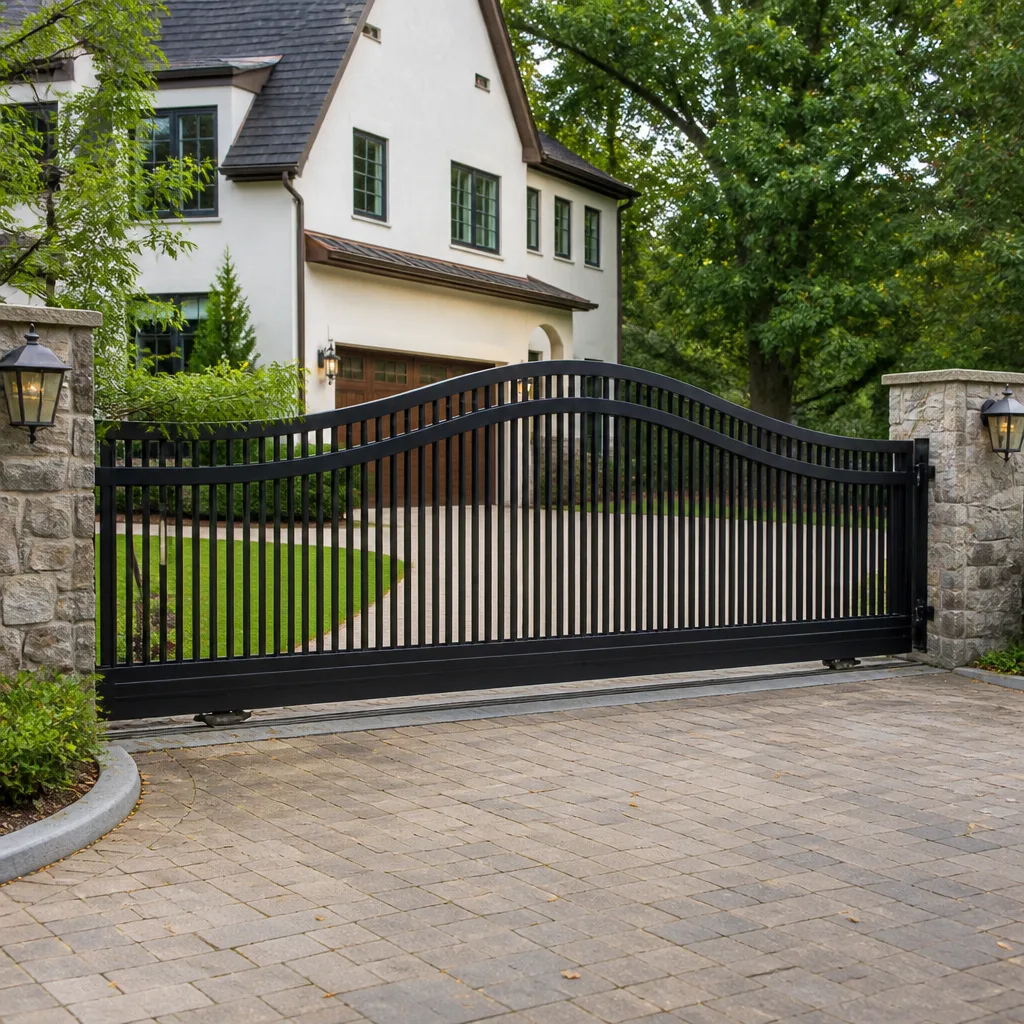 Sliding driveway gates
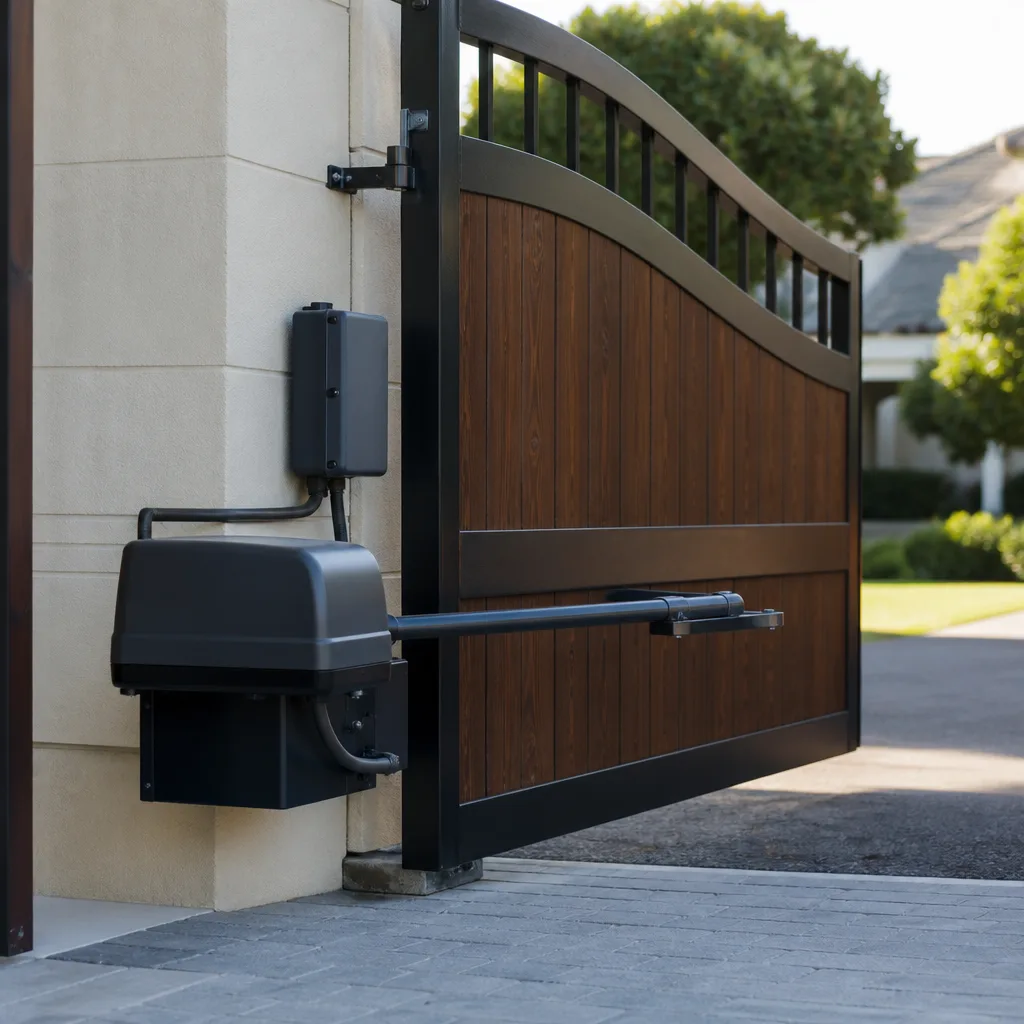 LiftMaster operators
Free on-site gate assessment - hinges, posts, and your LiftMaster or Nice gate operator checked before anything is quoted
The assessment is free and the quote is the invoice.
Get your free estimateGate Repair Warning Signs: A San Marcos Homeowner’s Reference Guide
Most gate failures don’t announce themselves with a sudden collapse. They telegraph their intentions for weeks or months beforehand, through sounds, movements, and visible wear patterns that most homeowners either miss or dismiss as normal. Here’s the part that matters: a grinding noise during gate travel isn’t wear and tear. It’s metal-on-metal contact that means your gate is actively damaging itself every single cycle, and the repair cost roughly doubles every two weeks that damage goes unaddressed. This guide divides the warning signs into two tiers: the ones that mean “schedule service this month” and the ones that mean “don’t use this gate again until a technician arrives.” By the time you finish reading, you’ll know exactly which category your gate falls into, what each sign actually indicates inside the mechanical or electrical system, and when the Gate Repair San Marcos team should get involved.
Quick Answer
A gate needs professional attention when it makes grinding or scraping sounds, moves unevenly or hesitates, sags visibly, or responds inconsistently to your remote or keypad. In San Marcos specifically, you should also check for post-movement and weld cracks after every Santa Ana wind event and inspect for accelerated rust in any hardware exposed to coastal air. Warning signs fall into two categories: schedule service soon (noises, slow operation, minor sag) and stop using the gate now (jerking movement, exposed wiring, structural cracks, a gate that reverses unexpectedly). If you’re seeing anything in the second category, call a specialist for our Gate Repair services before the next cycle.
Styles & brands we work with
- Wrought iron
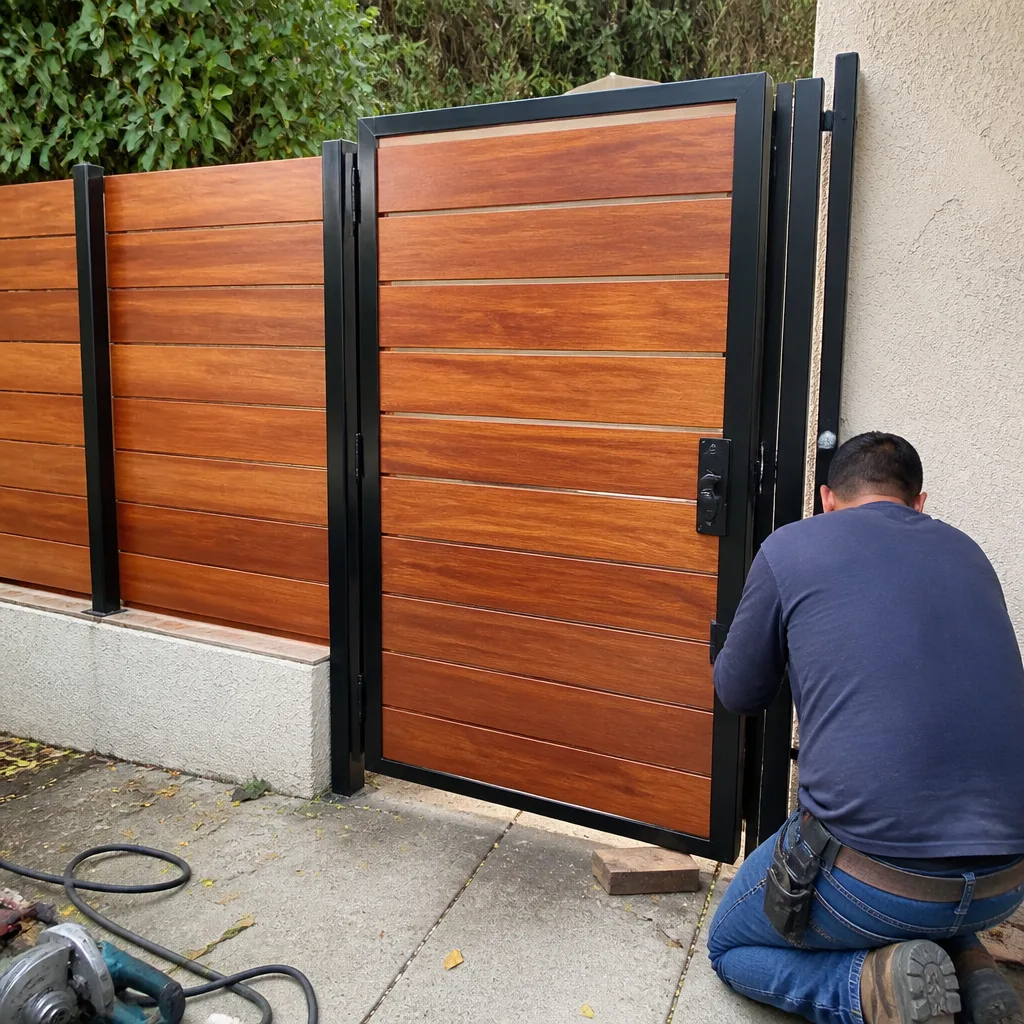
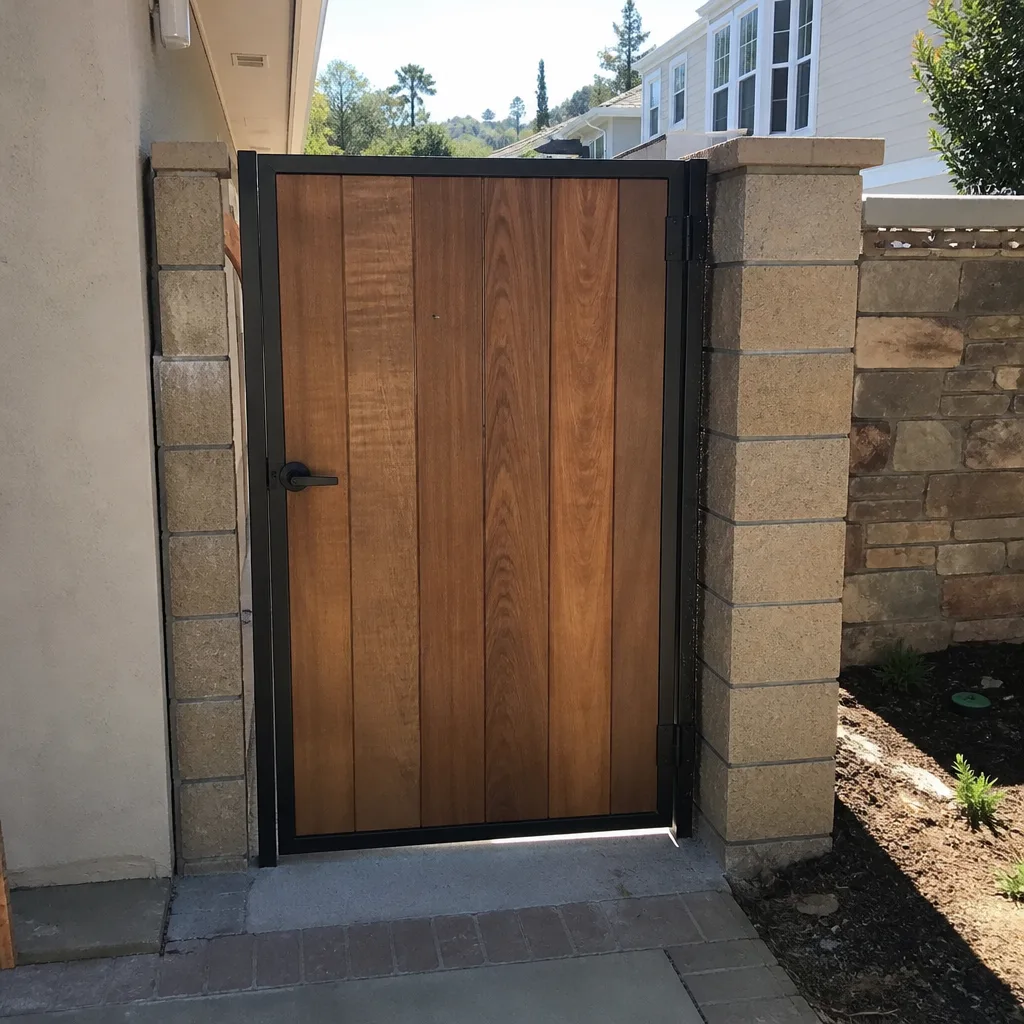
- Wood & steel frame
- Farm & ranch
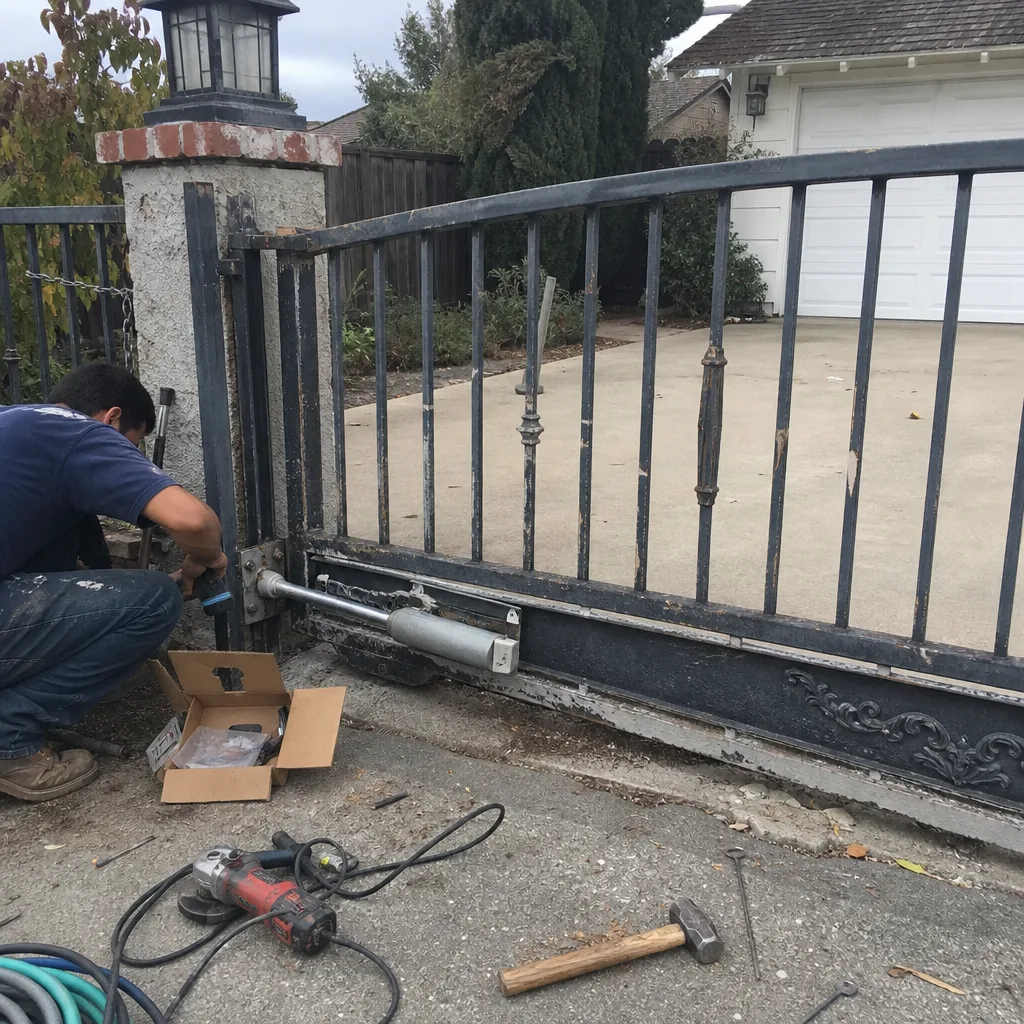
- Sliding driveway gates
- LiftMaster operators
Table of Contents
- The Two-Tier Warning Sign Classification
- Mechanical Warning Signs: What You’ll Hear and See
- Electrical Warning Signs: What the Control System Is Telling You
- Structural Warning Signs: Hinges, Posts, and Welds
- UL 325 Safety Hazards: Signs That Mean Stop Immediately
- San Marcos-Specific Warning Signs: Santa Anas and Coastal Air
- Common Mistakes to Avoid
- When to Call a Professional
- Frequently Asked Questions
The Two-Tier Warning Sign Classification
Every gate problem you’ll ever encounter fits into one of two buckets, and knowing which bucket you’re in changes everything about what you should do next. Most homeowner guides treat a squeaky hinge and a cracked weld as equivalent problems. They are not. A squeaky hinge is a maintenance item. A cracked weld is a structural failure waiting to happen. Here’s the framework we use when we talk to homeowners in San Marcos about what they’re seeing, and you can find more guides & resources on our blog.
Tier 1: Schedule Service Within the Month
These signs mean the gate is wearing faster than it should, but it’s not yet dangerous to operate. You have time to book a repair on your schedule, but the clock is running. Ignore a Tier 1 sign for six months and you’ll likely be looking at a Tier 2 failure, and a bill that’s three to five times larger than the original fix would have been.
- New noises during travel: grinding, scraping, clicking, or a rhythmic thumping that wasn’t there before
- Slower operation: the gate takes noticeably longer to open or close than it did when it was installed
- Minor sag: the latch side of a swing gate sits a quarter-inch to a half-inch lower than it should
- Intermittent remote issues: the gate works fine from the keypad but only sometimes responds to the remote
- Visible surface rust: rust on hinges, bolts, or the lower rail that hasn’t yet compromised the metal’s strength
- Gate reverses mid-cycle occasionally: it’s not consistent, but it happened once or twice this month
Tier 2: Stop Using the Gate Until a Technician Arrives
These signs mean the gate is no longer safe to operate, and every additional cycle risks injury to a person, damage to a vehicle, or a cascading failure that turns a small repair into a full gate replacement. If you’re seeing any of these, close the gate manually if you can do so safely, disconnect the operator if you know how, and keep people and vehicles away until a professional has assessed it.
- Jerking or shuddering movement: the gate doesn’t travel smoothly; it lurches forward in fits and starts
- Any visible weld crack: especially at hinge points, the base of the post, or where the operator arm attaches
- Exposed or frayed wiring: at the operator box, at the hinge line, or anywhere along the gate’s travel path
- Gate reverses unexpectedly every time: a photo eye or edge sensor failure that’s now consistent
- Post movement: a gate post that shifts visibly when the gate opens or closes
- Loud popping or snapping sounds: these indicate a component is breaking, not just wearing
Mechanical Warning Signs: What You’ll Hear and See
Your gate’s mechanical system is moving parts under load, and every one of those parts has a designed lifespan. Hinges wear. Rollers flatten. Chains stretch. V-belts crack. What matters is the progression: a part that’s wearing normally produces steady, predictable wear over years. A part that’s wearing abnormally produces accelerating damage, and it usually gives you an audible heads-up first.
In our experience, the mechanical warning signs San Marcos homeowners miss most often are the ones that develop gradually enough to seem normal. You hear a slight scrape every morning when the gate opens. After two weeks, you’ve stopped noticing it. That’s the problem. The scrape isn’t normal, and your brain’s habituation to it doesn’t change what’s happening at the hinge or roller.
- Grinding during travel. This means metal parts are contacting each other without proper lubrication or clearance. If the grinding is coming from the hinge area, the hinge bearings or bushings are done; if it’s from the track on a slide gate, the rollers are worn or the track is misaligned.
- Scraping at the latch. The latch and receiver are misaligned, which means either the gate has sagged, the post has shifted, or the hinges have worn enough to change the gate’s resting position. Each cycle makes the misalignment slightly worse.
- Thumping or bumping at start or stop. The operator is hitting the open or closed limit either too hard or too late. On a swing gate, this often means the operator’s internal limit switches are drifting; on a slide gate, the end stops or magnetic limits have moved.
- Squealing from the operator. A high-pitched squeal during operation typically means a belt is slipping, a pulley bearing is dry, or the operator’s internal components are binding. It’s the operator telling you it’s working harder than it should.
- Rhythmic clicking. Clicking that repeats with the gate’s movement cycle often indicates a chain hitting a guard or a roller with a flat spot. It’s not urgent, but it will create a flat spot on adjacent components if ignored.
What should you do with any of these? Note where the sound is coming from and when it happens (opening only, closing only, both directions). That information alone cuts diagnostic time significantly, which means a faster repair and less labor cost. The Gate Repair in San Marcos process starts with that exact question: what do you hear, and when do you hear it?
Electrical Warning Signs: What the Control System Is Telling You
Electric gate systems don’t fail silently. The control board, the operator motor, the safety sensors, and the remote receivers all give off signals when they’re degrading. But those signals are subtle, and most homeowners don’t know how to read them. Here’s what to look for.
Flickering or Dim Indicator Lights
Most operators have one or more LED lights on the control board. A steady green light typically means the system is armed and ready. Flickering, dimming, or changing color means the board is losing power intermittently, a component on the board is failing, or a secondary device (photo eye, edge sensor, loop detector) is sending inconsistent voltage. In San Marcos, power fluctuations from gusts that stress overhead lines can contribute to board damage over time. If your indicator light flickers, don’t wait for the gate to stop working. The board is warning you.
Inconsistent Response to Remotes
Your remote works from 30 feet away in the morning and 8 feet away in the afternoon. Or it works fine on Tuesday and not at all on Thursday. This isn’t a remote battery issue (that causes consistent decline, not intermittent failure). Inconsistent response usually means the receiver antenna is damaged or poorly positioned, the receiver itself is drifting off frequency, or there’s a new source of radio interference in the area. San Marcos’s growing residential density means interference is increasingly common; we see it regularly in neighborhoods with new construction or recently installed smart home equipment.
Operator Running Longer Than Usual
If you time your gate’s travel and the cycle takes longer than it used to, something is causing the system to work harder: a binding hardware component, declining motor torque, or a capacitor that’s losing its ability to deliver the startup surge. On a Ghost Controls or Viking operator, the motor’s run time is governed by current draw and limit settings. Longer run time means the motor is compensating for a problem, not that it’s “wearing in.” The longer you ignore it, the hotter the motor runs, and heat is what kills windings.
What These Signs Actually Indicate
- Flickering indicator light: intermittent power delivery to the board, a failing component on the board, or a sensor sending inconsistent signal
- Remote works inconsistently: antenna damage, receiver drift, or a new interference source
- Gate hesitates before moving: capacitor degradation, motor wear, or binding in the operator arm
- Gate stops mid-cycle and resets: a safety sensor tripping intermittently, a thermal overload in the motor, or a loose connection
- Exterior keypad works but interior button does not: the issue is in the wiring between the button and the board, not the board itself
Electrical diagnostics require a multimeter, a wiring diagram, and the ability to isolate components systematically. That’s what a dedicated Electric Gate Repair in San Marcos service does differently: we test the complete circuit, find the actual fault, and replace only what’s failed, whether the system is a DoorKing commercial panel or a residential Elite setup.
Structural Warning Signs: Hinges, Posts, and Welds
Structure is the category most likely to produce a Tier 2 failure without much warning, because structural damage is often hidden behind cosmetic surfaces. A weld can crack inside the hinge assembly where you can’t see it until the gate physically separates. That said, most structural issues do produce visible signs. You just have to look in the right places.
Hinge Wear Patterns
Take a close look at each hinge when the gate is closed. If the gate is sagging, the top hinge will show a gap between the hinge leaf and the post, while the bottom hinge will be compressed. You might also see a crescent-shaped wear pattern where the hinge pin has been riding against the knuckle. These patterns indicate the gate’s weight is no longer distributed evenly across the hinges, and the top hinge is doing the work of the bottom hinge.
Post Movement
Grab the post (if it’s a square or rectangular section) and try to rock it. Don’t push the gate, just the post itself. It should be completely rigid. Any movement means the post’s footing has deteriorated, the post has rusted through at the base, or the concrete pad has cracked. On slide gates in particular, the end posts handle lateral loads every single cycle. A post that moves will allow the gate to wander off its track or throw the chain out of alignment.
Weld Crack Visibility
Weld cracks are thin, dark lines, typically at the junction of two pieces of metal. They commonly appear at the hinge-to-gate connection, the post-to-base plate connection, and where the operator arm bracket attaches to the gate frame. If the crack has surface rust inside it, it’s been there for a while. If the crack has no rust, it developed recently and the gate is still actively stressing that area. Check after every major wind event and after any impact (even a minor bump from a delivery vehicle).
A Simple Visual Inspection Checklist
- Close the gate and stand 15 feet back. Is the top rail parallel to the ground, or does it dip toward the latch side?
- Walk to each hinge and look for gap differences, pin wear, or any sign the hinge is not seated flush.
- Try to rock each post. Use body weight, not just arm strength.
- Inspect every weld you can see. Use a flashlight at an angle to make cracks visible.
- Check the operator arm attachment on both the post and the gate frame.
- Open and close the gate one full cycle and watch for any flex or twist in the gate frame.
Doing this once every month or two takes about five minutes. It catches the vast majority of structural problems before they become unsafe or unrepairable.
UL 325 Safety Hazards: Signs That Mean Stop Immediately
UL 325 is the safety standard that governs automatic gate operators in the United States. It’s not a suggestion. It’s the legal and safety framework for how automated gates must behave around people. When a gate system exhibits certain failure patterns, it’s no longer just a broken gate. It’s become a safety hazard in the eyes of the standard, and in the eyes of any court reviewing an injury claim.
Where the Dangers Live
A gate that moves on its own, crushes an obstruction instead of reversing, or has exposed electrical conductors is no longer a Tier 1 issue. It’s a Tier 2 immediate stop. Here’s what to watch for.
- Unexpected reversal to the opposite direction: the gate is closing, and without a signal, it starts opening again. This means a safety device (photo eye or edge sensor) is sending a false trigger, or the control board itself is failing.
- No reversal on obstruction: the gate contacts an object and keeps pushing. This is the most dangerous failure in a gate system. The pressure sensor or current-sensing reverse is not functioning. A gate that doesn’t reverse on contact can crush or pin.
- Entrapment risk zones: the space between a swinging gate and the post, or between a sliding gate and the fence, is where entrapment hazards occur. If the gate is moving jerkily or reversing, these zones become dangerous.
- Exposed wiring anywhere in the gate path: low-voltage DC wiring carries less shock risk than line-voltage AC, but either can short, spark, or prevent safety sensors from working.
- Bypassed or missing safety devices: if a photo eye has been removed, covered, or bypassed, the gate will operate without an obstruction detection system. That’s an immediate code violation and a serious personal-injury risk.
If you’re seeing any of these, do not let children or pets near the gate. Do not operate it manually or automatically. The gate is not just broken. It needs a professional who knows the UL 325 requirements and can restore the safety devices before returning the system to service. A specialist who works on gate systems from DoorKing, Elite, and Viking knows what UL 325 compliance looks like on each brand’s control architecture, and what needs to happen to bring a non-compliant system back to spec. If you’re choosing a contractor, see How to Hire a Gate Repair Contractor in San Marcos: A Step-by-Step Guide.
San Marcos-Specific Warning Signs: Santa Anas and Coastal Air
Gates in San Marcos live in a specific environment, and that environment creates specific failure patterns. Two factors matter more than any others: the Santa Ana winds that arrive every fall and winter, and the salt-tinged coastal air that drifts inland from the Pacific. Both accelerate gate wear in predictable ways.
Post-Santa Ana Inspection Checklist
Santa Ana winds don’t damage gates through direct force alone. They carry dust and fine grit that works its way into bearings, rollers, and operator mechanisms. They also exert sustained lateral pressure on wide swing gates, which stresses welds, hinges, and post footings over multiple days. After every Santa Ana event, here’s what we recommend checking.
- Post stability: the sustained wind load can crack concrete footings or loosen embedded anchors. Rock each post firmly.
- Hinge alignment: wind pressure can shift a gate several degrees out of square, which changes hinge loading and causes the gate to bind.
- Operator arm attachment: the bolts where the operator connects to the gate and post take the brunt of wind surges. Look for any movement or elongated bolt holes.
- Weld crack visibility: go through the weld inspection checklist above. Wind stress often creates fine cracks that go unnoticed until the gate separates.
- Debris in the track (slide gates): grit from the wind accumulates in the track and damages rollers over time. Vacuum or brush it out.
- Sensor alignment: photo eyes and safety edges can be knocked out of alignment during high-wind days. Test the system by interrupting the beam while the gate is closing.
Coastal Air and Accelerated Rust Timelines
San Marcos sits roughly six to eight miles from the coast, close enough that marine air reaches us during morning and evening onshore flows. That air carries salt, and salt accelerates oxidation on steel and iron hardware. What takes five years to rust through in Temecula might show serious corrosion in three years here. Check for a particular pattern: rust that appears at bolt heads, weld joints, and hinge pins first, before spreading to flat surfaces. Those are the highest-stress points, and rust at a weld joint is the most dangerous because it can hide a crack developing underneath.
If you see rust flaking or pitting the metal’s surface, the component has lost material thickness. On a hinge pin, that means reduced load capacity. On a post base, that means the structural connection is quietly weakening. Treat visible rust at any structural connection as a Tier 1 sign at minimum, and schedule service before it progresses.
Common Mistakes to Avoid
- Lubricating without cleaning first. Spraying grease over grit-filled rollers or hinges creates a grinding paste that accelerates wear. Clean the component, then lubricate with the correct product. If you’re not sure what to use on your specific hinge or roller type, ask a specialist before you guess.
- Adjusting limit switches without checking the underlying cause. Limit switches drift for a reason. If a component is binding or a sensor is failing, re-setting the limits masks the problem temporarily. The gate will fail again, likely worse.
- Ignoring a gate that reverses mid-cycle “because it always recovers.” Intermittent reversal is an early warning from a safety sensor or control board. By the time the gate stops recovering, the failure is complete, and you’ve lost your window for a cheaper repair.
- Replacing a remote before checking the receiver. If the remote works from some angles and not others, the receiver is often the culprit. New remotes don’t fix a failing receiver board or a damaged antenna.
- Doing a full inspection only when the gate has already failed. Waiting for breakdown means everything on the gate has worn together. If you find a failed hinge early, the fix is cheap and the operator never overheats fighting it. If you wait, the hinge takes out the operator, and now you’re replacing two components instead of one.
- Treating rust as cosmetic. That rust line along the bottom rail or at the post base is losing material thickness every month. In San Marcos’s salt-tinted air, the timeline from cosmetic to structural is shorter than you think.
When to Call a Professional
Any Tier 2 sign means stop using the gate and get a specialist out immediately. Don’t try to limp the gate along, don’t disconnect the operator and operate it manually if there’s structural damage, and don’t let anyone use the gate until it’s been properly assessed. Tier 1 signs don’t require an emergency call, but they do require timely action: within a month, and sooner if the noise or movement pattern is getting worse.
If you’re seeing any of the signs this guide covers, regardless of which tier they fall into, get an expert opinion before the damage compounds. Gate Repair San Marcos offers free estimates in San Marcos and covers the full range of mechanical, structural, and electrical gate repairs. Call (877) 798-8589 and describe what you’re seeing – we’ll tell you honestly whether it’s a schedule-it-soon item or a stop-using-it-now item. If you’re weighing repair against a new gate entirely, our Gate Installation in San Marcos team can give you a clear comparison of both paths.
Frequently Asked Questions
The most common signs are new grinding or scraping sounds during travel, visible sag at the latch side, slower operation, inconsistent remote response, and visible rust at hinges or welds. Any of these means the gate is wearing faster than it should, and each cycle is adding to the repair cost. If you’re in San Marcos and hearing or seeing any of these, get a free assessment before the damage progresses.
Mechanical problems produce physical signs like noise, sag, or visible misalignment. Electrical problems produce behavioral signs like intermittent operation, reversed travel, or control board indicator light changes. A gate that’s physically stuck and won’t move is usually mechanical or a failed operator motor; a gate that moves but behaves erratically is usually electrical. Some failures involve both, which is why we diagnose both systems in a single visit.
For a short time, yes, but not indefinitely. Grinding means metal parts are contacting without proper clearance or lubrication, and the damage compounds with every cycle. A hinge that started grinding two weeks ago and one that’s been grinding for three months are two very different repair bills. In San Marcos’s coastal air, the dust and grit accelerate that wear. Get it looked at soon.
Check post stability (rock each post), hinge alignment, operator arm attachment points, weld cracks, debris in slide tracks, and sensor alignment. The sustained wind pressure from a multi-day Santa Ana event stresses these components in ways normal use never does. A five-minute post-wind inspection catches most problems early.
That’s typically a false trigger from a photo eye, safety edge sensor, or a failing control board component. It could also be a loose connection sending intermittent signal to the board’s safety circuit. Whatever the root cause, this isn’t a problem you should ignore, as the same issue can progress to a gate that fails to reverse when something actually is in the way. Call a specialist to diagnose the safety circuit.
Diagnostic costs vary based on the system and the issue, but Gate Repair San Marcos provides free estimates, which means you can get a professional assessment without committing to a repair beforehand. The faster you act on a warning sign, the less the repair typically costs, because you’re fixing a wearing component instead of replacing a broken one.
The Bottom Line
Gate warning signs exist on a spectrum. Some mean you should plan a service call. Some mean the gate should not move again until a technician has seen it. The homeowners who avoid expensive repairs and dangerous failures are the ones who inspect their gates regularly and act on what they find. Every single major breakdown we’ve ever fixed in San Marcos started as a visible or audible warning sign that went unaddressed for weeks or months. If your gate is making noise, moving oddly, sagging, or responding inconsistently, don’t wait for the operational failure. Call (877) 798-8589, describe what you’re experiencing, and we’ll help you determine whether you’re looking at a Tier 1 service item or a Tier 2 stop-now hazard. Five minutes of inspection beats a $2,000 repair that started as a $150 fix.
Written by the team at Gate Repair San Marcos, serving San Marcos since 2011.
See the difference
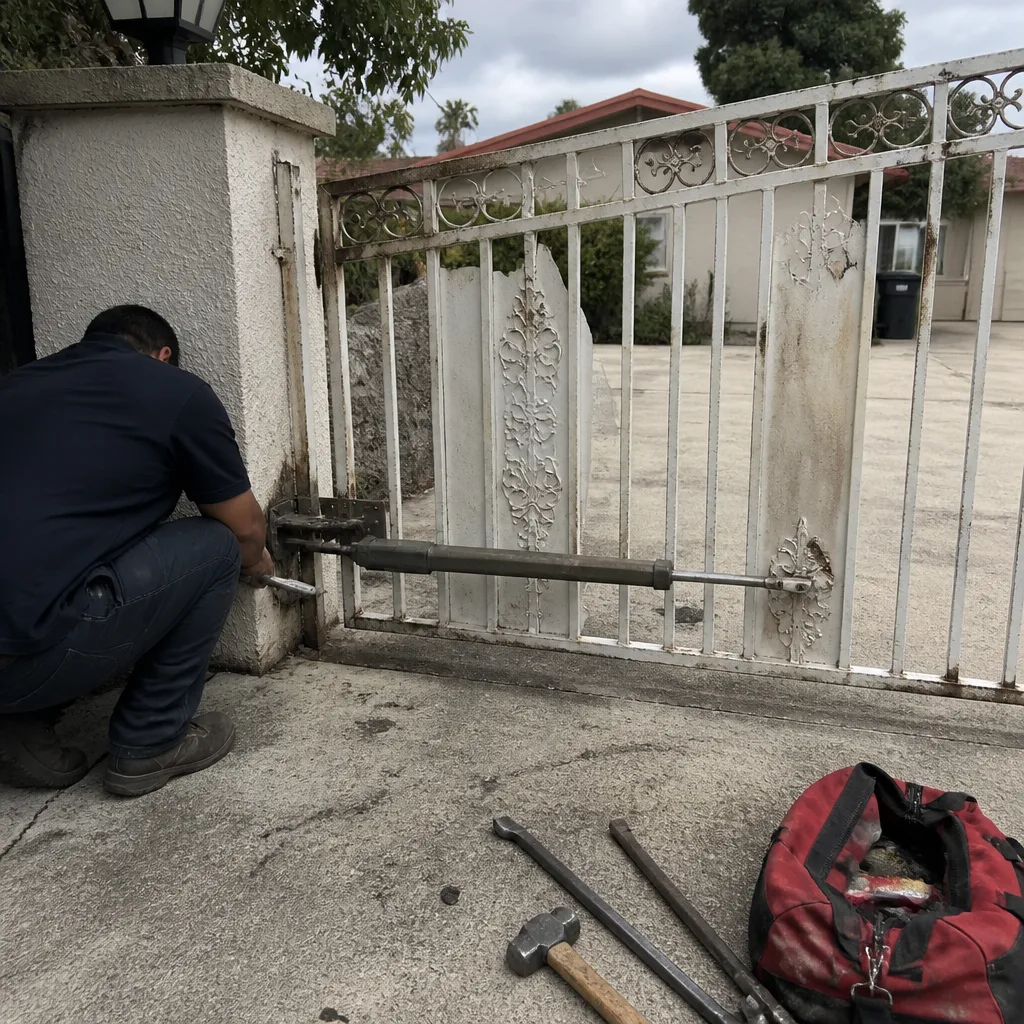 Before
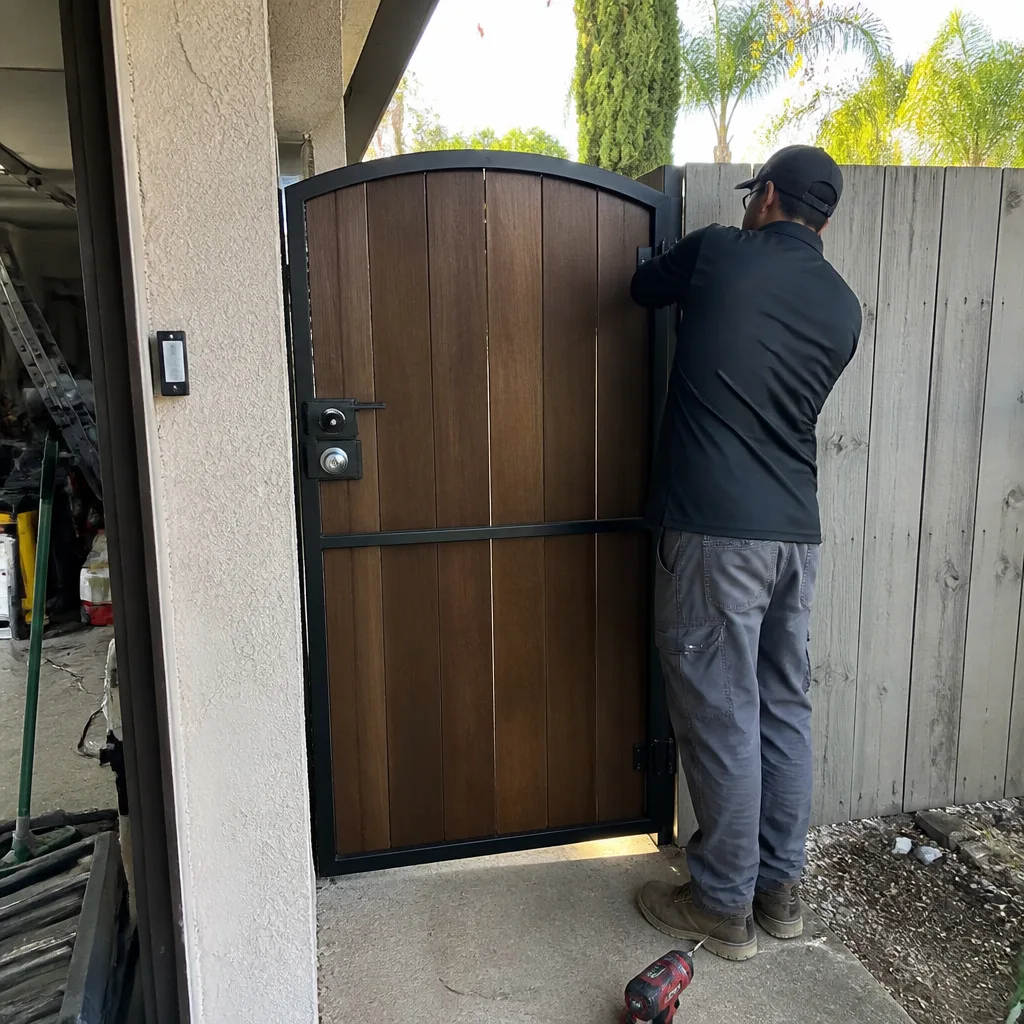 After
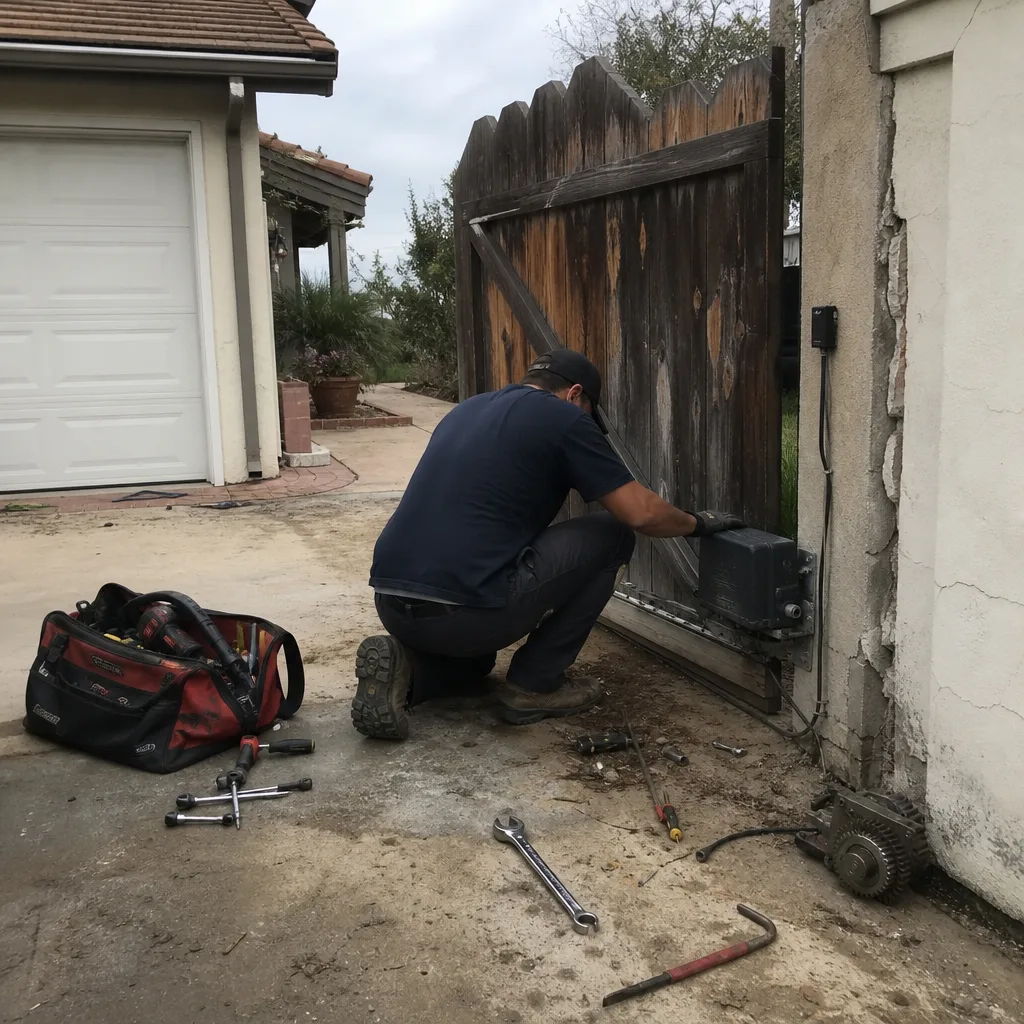 Before
 After
 Before
 After