
Last updated November 2, 2026
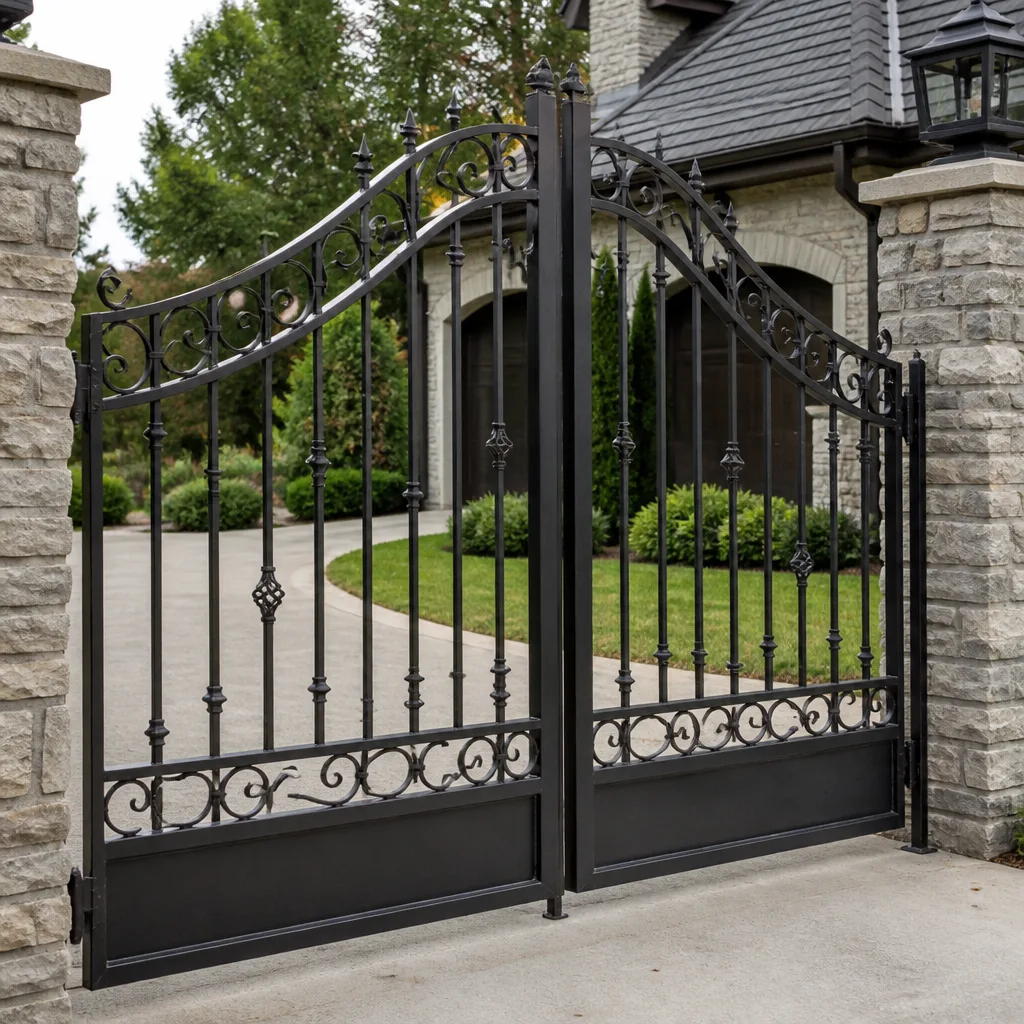 Wrought iron
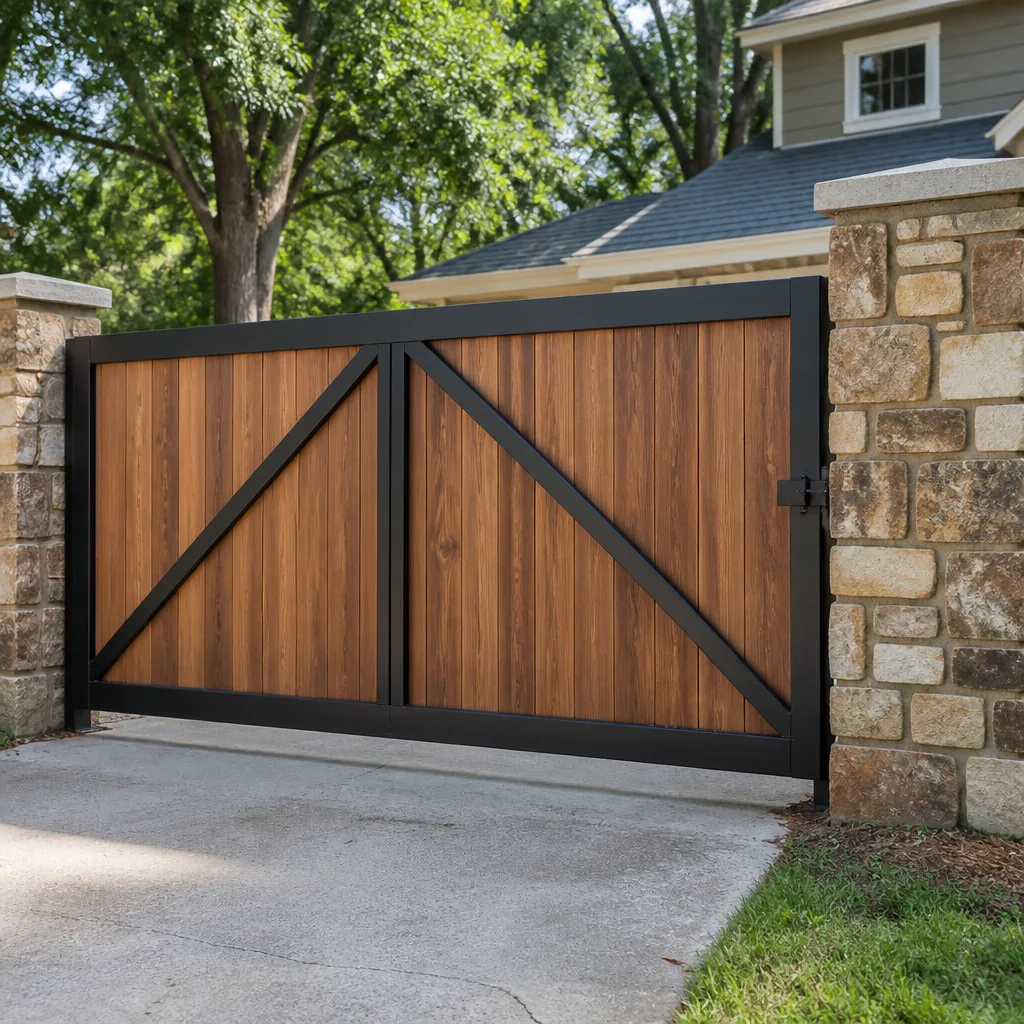 Wood & steel frame
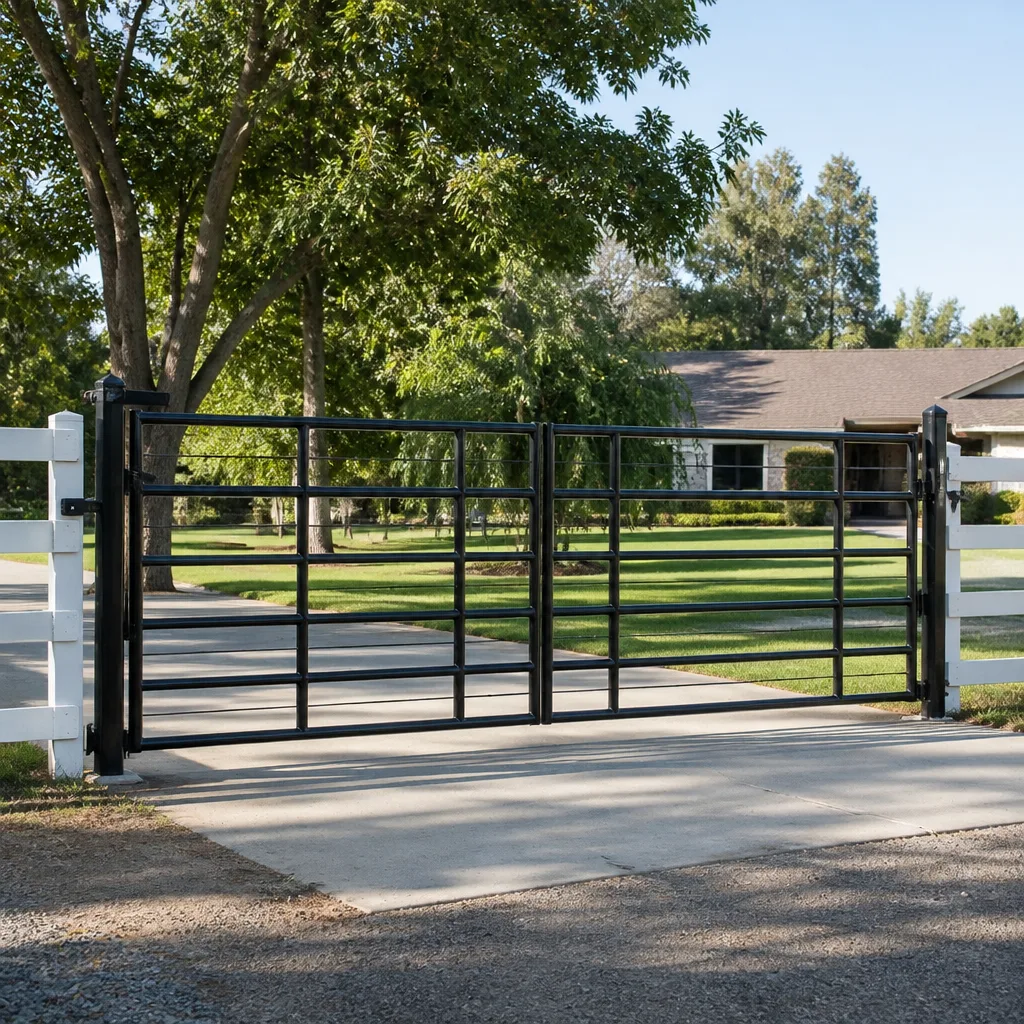 Farm & ranch
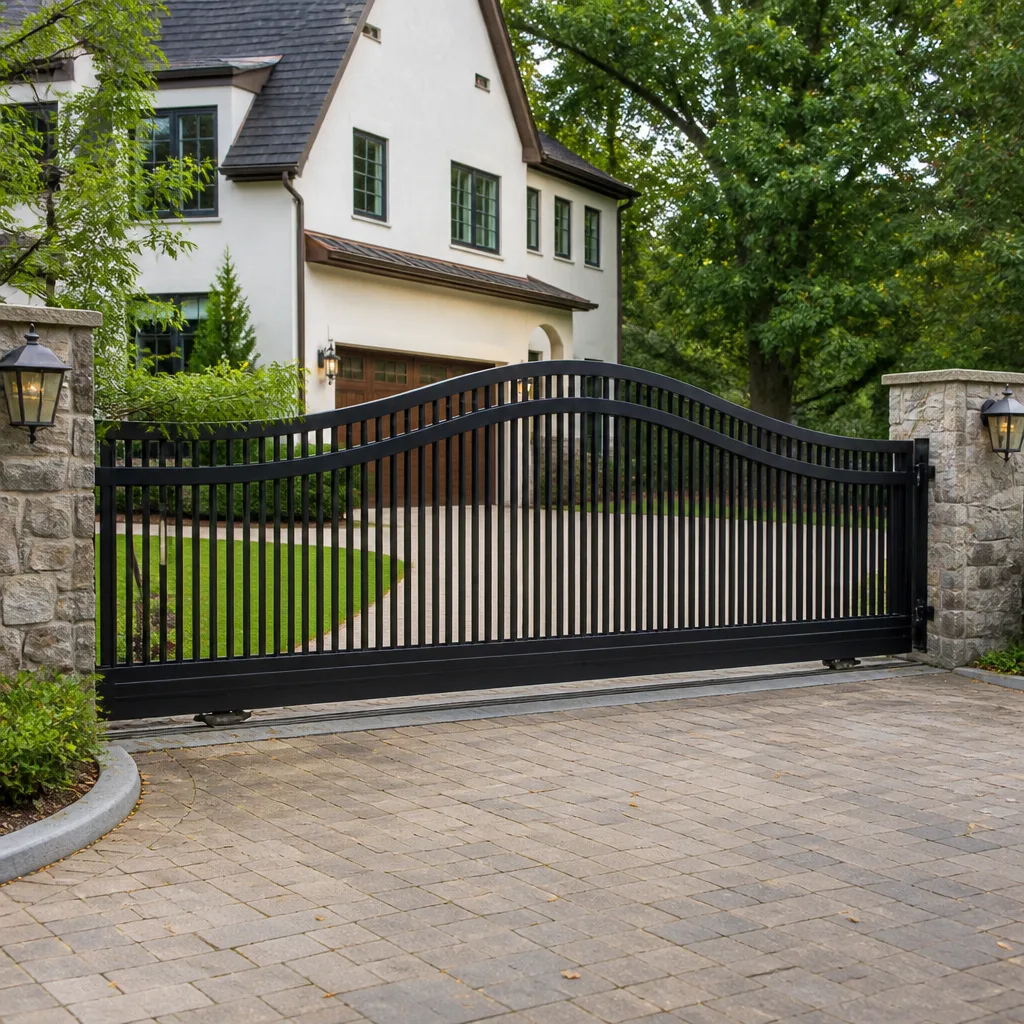 Sliding driveway gates
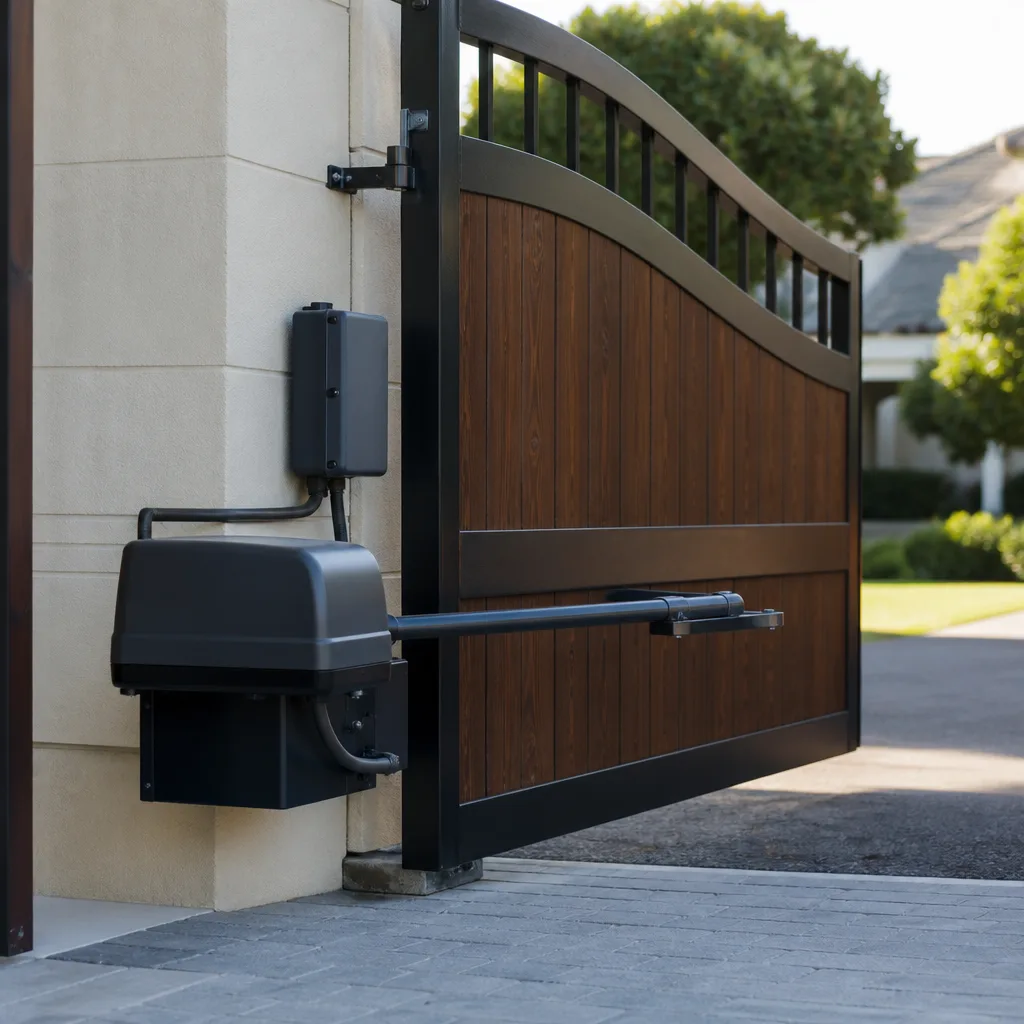 LiftMaster operators
Free on-site gate assessment - hinges, posts, and your LiftMaster or Nice gate operator checked before anything is quoted
The assessment is free and the quote is the invoice.
Get your free estimateDIY vs Professional Gate Repair: The San Marcos Homeowner’s Decision Guide
Most gate repair advice on the internet gets the core question wrong. It frames the decision as a matter of skill: are you handy enough to fix a gate? The real question is narrower and more consequential. It’s about which specific component failed. California’s UL 325 safety standard means that a homeowner who adjusts their gate operator’s force settings without understanding the standard has, in a legal sense, created a non-compliant safety hazard. If a child or delivery driver is injured by that gate later, a homeowner’s insurance policy may refuse the claim once the unauthorized adjustment is discovered. This guide exists because the DIY boundary for gates in San Marcos isn’t where most people think it is. You’ll learn which repairs are genuinely owner-safe, which ones void warranties, and what a failed DIY attempt costs to undo. For professional help, see our Gate Repair services.
Styles & brands we work with
- Wrought iron
- Wood & steel frame
- Farm & ranch
- Sliding driveway gates
- LiftMaster operators
Quick Answer
DIY gate repair is appropriate for mechanical maintenance tasks: hinge lubrication, track cleaning, minor alignment adjustments, battery replacement in backup systems, and reprogramming remotes. Professional repair is non-negotiable for anything touching the operator’s electrical system: force settings, limit switches, control boards, motor wiring, loop detectors, or safety sensor wiring. In San Marcos, a homeowner can safely save $75 to $200 per year on basic maintenance; attempting electrical repair without UL 325 knowledge typically costs $350 to $900 more than calling a specialist first.
Table of Contents
- What California’s UL 325 Standard Means for DIY Gate Repair
- The Owner-Safe Task List: 6 Repairs You Can Do This Weekend
- The Professional-Only List: Electrical and Operator Work
- What a Legitimate DIY Gate Repair Actually Requires
- How DIY Attempts Affect Your Gate’s Warranty
- The Real Cost-Benefit Analysis: What DIY Saves and What It Risks
- What Contractors Find After a Failed DIY Repair
- San Marcos Climate and Its Effect on Gate Components
- Common Mistakes to Avoid
- When to Call a Professional
- Frequently Asked Questions
- The Bottom Line
What California’s UL 325 Standard Means for DIY Gate Repair
California has adopted UL 325 as the governing safety standard for automated gate systems, and it applies to every electric gate in San Marcos, from a basic swing gate at a single-family home in San Elijo Hills to a commercial slide gate at a Rancho Santa Fe estate entrance. The standard exists because automatic gates killed and injured people in the 1990s and early 2000s before force-limitation requirements became mandatory. A compliant gate must stop and reverse when it encounters a certain amount of resistance, and it must have a secondary entrapment protection device, typically photo eyes or contact edges. Here’s what this means for a homeowner considering DIY repair: when you adjust force settings on an operator, you are not making a simple tweak. You are changing a calibrated safety parameter. Set the force too high and the gate will crush a child’s bicycle, a dog, or a person before it reverses. Set it too low and the gate won’t close against normal wind resistance. The window between “too low” and “dangerous” is narrower than most people expect, and it varies by gate weight, hinge condition, and operator model. A technician who works on LiftMaster and FAAC operators daily knows where that window sits for each brand. A homeowner with a YouTube video does not.
The insurance angle is the part most guides skip. Homeowner’s insurance policies contain clauses for “intentional or negligent modification of safety devices.” If a gate malfunction after a DIY adjustment causes an injury, an adjuster who finds evidence of tampered force settings or bypassed photo eyes will classify the incident as negligence. That shifts liability entirely onto the homeowner. In San Marcos, where many properties sit on larger lots with gates that front sidewalks or street access, the exposure to a passerby injury is real. The gate isn’t just protecting your driveway; it’s a safety device at your property line. We’ve inspected systems where homeowners had disconnected safety edges because the gate kept stopping, thinking the edge was faulty. The real issue was a misaligned track, but the owner had converted a nuisance problem into a code violation without knowing it.
The Owner-Safe Task List: 6 Repairs You Can Do This Weekend
The honest list of owner-safe gate repairs is shorter than most DIY blogs suggest, but it’s real and worth doing. These tasks prevent the expensive failures that send people to gate repair in San Marcos. None of them require touching wiring, circuit boards, or motor calibration. Here’s what a competent homeowner can handle:
1. Hinge and roller lubrication. This is the single highest-value maintenance task for any gate, manual or automatic. Swing gates with dry hinges put extra load on the operator motor. Slide gates with dry rollers drag and strain the drive system. Use a lithium-based grease on hinge pins and rollers, not WD-40, which displaces moisture but provides almost no long-term lubrication. Do this every 3 to 4 months. For San Marcos properties, which get coastal humidity in spring and dry heat in late summer, seasonal lubrication matters more than most people realize. The rust cycle here accelerates during the June gloom period when humidity is high but temperatures stay moderate.
2. Track and rail cleaning. Slide gates accumulate dirt, decomposed granite, leaf litter, and cobwebs in the track. When a slide gate starts hesitating or reversing mid-cycle for no obvious reason, a packed track is the culprit about a third of the time. Clear the track with a stiff brush and check that no debris has worked its way into the roller bearings. This costs nothing and takes 20 minutes.
3. Remote control reprogramming. Adding a new remote, clearing a lost remote, or re-syncing after a battery change is owner-appropriate. Most operators from LiftMaster, Mighty Mule, and Elite have a clearly labeled “learn” button on the control board. The procedure is in the manual. You’re not modifying safety parameters; you’re changing access codes. The distinction matters.
4. Battery backup replacement. Most newer automatic gates in San Marcos have battery backups to keep the gate operational during power outages. These batteries are typically 12V sealed lead-acid units that last 3 to 5 years. Replacing one is a plug-and-play task if the old battery is accessible, the terminals are standard, and the battery is unplugged before you touch it. If you see swollen casing, leaking acid, or burned terminals, stop and call someone. But a straight swap of a healthy battery is owner-safe.
5. Photo eye cleaning and alignment. Photo eyes get dusty, spider-web-covered, and knocked out of alignment by lawn equipment or kids. Cleaning the lenses and gently re-aiming them so the indicator lights show alignment is a legitimate owner task. You’re not changing their sensitivity or bypassing them. But here’s the line: if the photo eyes are clean, aligned, and the gate still won’t close, do not jumper the wires or remove the eyes from the circuit. That’s the most common UL 325 violation we see from DIY attempts.
6. Visual inspection and tightening. Once a quarter, walk the entire gate path. Check for loose hinge bolts, sagging gate panels, cracked wheels, exposed wiring, and rust spots on the frame. Tighten what’s accessible with standard hand tools. Many gate failures are just fatigue that a 15-minute inspection would have caught months earlier. This is the kind of task that doesn’t need a specialist, and it extends the life of every component.
The Professional-Only List: Electrical and Operator Work
Now for the boundary. If a gate repair task falls below this line, a homeowner in San Marcos should not attempt it, not because they’re not capable of learning, but because the cost of being wrong exceeds the savings of being right. The electrical and operator system is the line. Here’s what stays on the professional side:
Force adjustment. As covered above, this is a calibrated safety parameter under UL 325. Every operator brand handles force differently. A LiftMaster uses different settings and diagnostic modes than an FAAC or a BFT. The adjustment isn’t just “turn a dial until it works.” It’s measuring the current draw of the motor against gate resistance and wind load. In San Marcos, where gates face wide-open terrain in places like Santa Fe Hills and get hit by Santa Ana winds every fall, force settings that work in July may be wrong in October. A technician accounts for seasonal wind variation. A homeowner doesn’t know that’s a variable.
Limit switch adjustment. Limit switches tell the operator when the gate has reached fully open or fully closed. Misadjusting them doesn’t just make the gate stop short or overrun; it creates the conditions for motor burnout, chain breakage, and gate derailment. On a slide gate, an overrun can push the gate off the end of the track entirely. We’ve seen the result: a 600-pound gate on the ground and a bent rack.
Control board replacement. This is where DIY attempts go wrong most often. A homeowner sees a board with labeled terminals and assumes it’s a swap. But modern control boards from brands like Linear and Elite have DIP switch configurations, jumper settings, and firmware compatibility issues that don’t show up in a YouTube video. Plug in the wrong board revision and the operator may work for a week, then fail when a loop detector triggers. A board replacement also usually requires re-calibrating every safety parameter from scratch because the new board doesn’t carry over the old settings.
Motor replacement and wiring. Gate motors run on AC or DC power and need proper mounting alignment, torque specification, and wiring gauge. A misaligned motor mount destroys the gear train within months. Improperly sized wiring creates resistance that cooks the motor. And any exposed wire in a San Marcos yard becomes a corrosion point within one rainy season.
Loop detector installation and tuning. Loop detectors are embedded in the driveway and sense vehicle presence. Installing or tuning one requires cutting pavement, running wire, and adjusting sensitivity settings that vary by soil composition and rebar presence. San Marcos has some of the most varied soil conditions in the county, from sandy decomposed granite in the hills to clay in older neighborhoods like Richland. A loop that’s mistuned in clay will behave differently than one in decomposed granite.
Any repair involving exposed wiring or junction boxes. If you can see bare copper, a damaged conduit, or a junction box with corrosion, the system has a compromised electrical path. This is not a “tighten the wire nut” situation. It’s a diagnosis problem that requires a meter, some knowledge of the system’s wiring diagram, and the good sense to kill the breaker before reaching in. For anyone who’s not comfortable with a multimeter, this is the call-a-gate-specialist threshold.
What a Legitimate DIY Gate Repair Actually Requires
One of the quiet truths of the DIY gate repair content ecosystem is that the “simple fix” videos assume a tool collection and baseline knowledge that most homeowners don’t have. Be honest with yourself about this before you start. The owner-safe tasks above require about $100 to $200 in tools if you’re starting from zero:
- Lithium grease and a grease gun ($20 to $40). Not WD-40. Using WD-40 on gate hinges is the home improvement equivalent of using ketchup as pasta sauce.
- Basic SAE and metric socket set ($40 to $80). Gate hardware in the U.S. is typically SAE, but imported operators like FAAC and BFT often use metric fasteners on their mounting brackets.
- Torque wrench ($40 to $60). Overtightening hinge bolts is how you crack cast-iron hinges. Undertightening is how you get gate sag. Somewhere in the middle is a specified torque, and a torque wrench is the tool that finds it.
- Multimeter ($30 to $50). If any task involves checking voltage or continuity, you need one. If you don’t own one and don’t want to learn to use one, the professional-only list just got longer for you, and that’s fine.
- Level, stiff wire brush, shop rags ($15 to $25 total).
- Your operator’s manual (free, unless you’ve lost it, in which case the manufacturer’s website has a PDF).
The knowledge gap is bigger than the tool gap. A YouTube video shows you how to do one task on one model of gate. It doesn’t teach you how to recognize when the task you’re doing is a symptom, not a cause. Example: your gate is grinding. You assume the hinges need grease. You grease them. The grinding gets quieter for a week and then returns. What you didn’t know is that the gate panel itself is sagging because one hinge bracket is pulling away from the post, and the grinding is the panel dragging across the operator arm. A specialist sees that in the first 30 seconds because that’s the entire job, every day. A homeowner learns it after three weekends of misdiagnosis. We specialize exclusively in gates. It’s all we do. That concentration is the thing you can’t replicate with tool purchases.
Also worth saying: legitimate DIY work still takes time. Lubricating hinges properly means taking some weight off the gate with a jack, not just smearing grease on the visible pin. Cleaning a slide gate track means getting on your hands and knees with a brush and actually removing material, not hosing it down. If the task is going to take you three hours, accept the three hours. Rushed gate maintenance is how mistakes happen. No one gets a medal for doing it fast.
How DIY Attempts Affect Your Gate’s Warranty
This is the section that gets the least attention in the DIY-vs-professional debate, and it should get the most, because the financial impact can exceed the cost of the original repair by a wide margin. Most gate operator manufacturers, including LiftMaster, FAAC, Elite, and Mighty Mule, structure their warranties around the assumption that only qualified technicians will open the operator housing. Here’s what that means in practice:
Warranty voiding clauses. The fine print in most operator warranties states that warranty coverage does not apply to damage caused by “unauthorized modification, adjustment, or repair.” Opening the control board housing and adjusting force or limit settings is both modification and adjustment. If the operator fails later, even for an unrelated reason, the manufacturer can point to the DIY work as evidence that the unit was tampered with. In our experience, a homeowner who has adjusted force settings on a LiftMaster has functionally voided the motor and control board portion of the warranty. That warranty might have been worth $300 to $600 in parts.
The “we opened it, now everything is our fault” phenomenon. This isn’t a legal argument. It’s a practical one. Once a homeowner has been inside an operator, any subsequent failure is framed by the manufacturer’s support line as related to the homeowner’s work until proven otherwise. Since proving otherwise requires a technician’s diagnostic report and often shipping the unit back, most homeowners just eat the cost. A homeowner with a Mighty Mule operator who opened the housing, adjusted the limit switch, and then had the motor fail two months later will have a very hard time getting warranty coverage, even if the limit switch had nothing to do with the motor failure.
When DIY is warranty-safe. Replacing a battery, reprogramming a remote, and cleaning photo eyes are typically warranty-neutral. These are documented owner-maintenance tasks. Replacing a photo eye that’s obviously damaged is usually also acceptable because the instructions are in the manual and the component is designed for field replacement. The line is the control board and the motor assembly. If the repair requires a screwdriver on the control board housing, assume your warranty is at risk.
What this means for San Marcos homeowners. San Marcos has a mix of newer construction in places like University District and older homes in the downtown core. Newer gates are more likely to still be under manufacturer warranty. Older gates are either out of warranty or running on operators that were installed years ago. If your gate is under warranty, the smart play is to use a professional for anything that touches the operator and to keep documentation of all work done. If your gate is out of warranty, the warranty argument doesn’t apply, but the safety and diagnostic arguments still do.
The Real Cost-Benefit Analysis: What DIY Saves and What It Risks
Let’s put actual numbers on the decision, because “it depends” is not an answer. These are representative costs for the San Marcos market in 2025, based on what we see regularly on service calls across the city:
Owner-Safe Maintenance: The Clear DIY Win
Hinge lubrication, track cleaning, photo eye alignment, and quarterly inspections cost a homeowner about $25 in materials per year and maybe 6 hours of total time. If the homeowner skips these tasks and calls a professional instead, they’re paying $85 to $150 per service visit, which adds up to $350 to $600 per year for basic maintenance. So DIY maintenance is a genuine win: you save $325 to $575 annually at a cost of some weekend time. There’s no scenario where paying a professional to grease hinges makes financial sense unless the homeowner is physically unable to do the work.
Electrical and Operator Repair: The DIY Trap
Here’s the scenario we see repeatedly. A homeowner’s gate stops responding. The operator is dead. They watch a video, open the control board, test some things with a $30 multimeter, decide the board is fried, order a replacement online for $180, install it, and the gate still doesn’t work. They’ve spent $210 and four hours. They call us. We diagnose the actual problem: a corroded wire in the junction box, or a tripped ground fault, or a bad transformer. The repair takes one visit and costs $220. The homeowner’s total cost: $430 and a dead board they can’t return. Had they called first, the total would have been $220. This isn’t a hypothetical. It’s a Tuesday in San Marcos.
The cost structure of gate repair doesn’t reward guesswork. Professional gate repair is priced by diagnosis and labor, not by parts. When we quote a price for Electric Gate Repair in San Marcos, the price is agreed before work starts. The homeowner knows exactly what the repair will cost before we touch anything. A DIY attempt has no such certainty: every wrong part purchased is a sunk cost, and there’s no diagnostic warranty because you are the diagnostician.
The Hidden Cost: Downtime and Security
A broken automatic gate in San Marcos is not just an inconvenience. For many properties, the gate is the first layer of security and the reason the homeowners leave bicycles in the driveway overnight. Every day the gate is inoperable is a day the property’s security posture is degraded. A DIY repair that stretches over two weekends of troubleshooting adds 14 days of open-gate exposure. A professional repair is typically completed same-day or next-day once parts are confirmed. The security value of having the gate functional is impossible to quantify precisely, but it’s real, and it weighs in favor of professional repair for anything beyond owner-safe maintenance.
What Contractors Find After a Failed DIY Repair
A useful way to evaluate the DIY decision is to look at it from the other side of the phone call. When a homeowner has attempted a repair, failed, and finally called a professional, what does that professional typically see? From our experience with gates across San Marcos, from the newer communities in Rancho Tesoro to older homes on Twin Oaks Valley Road, here’s the pattern:
Stripped and cross-threaded fasteners. The most common finding. A homeowner without a torque wrench or the correct socket size strips a hinge bolt or cross-threads an operator screw. The original 10-minute repair is now a 40-minute job because the professional has to extract the damaged fastener, possibly re-tap the hole, and source a replacement bolt. The DIY attempt has added $60 to $100 to the repair cost.
Bypassed safety devices. Photo eyes that were disconnected. Safety edges taped down. Loop detectors unplugged. In almost every case, the homeowner was trying to solve a symptom (gate won’t close) by disabling the thing that was preventing the gate from closing, rather than fixing the underlying problem. This is the most dangerous category of DIY failure because it creates a real safety hazard, and it’s also the hardest to convince a homeowner is serious. “The gate worked fine after I disconnected it.” Yes, and a car works fine after you disconnect the brake warning light, until it doesn’t.
Misdiagnosed root causes. The homeowner replaced a control board because the gate was dead. The actual problem was a 12-volt transformer that had failed due to age. The replacement board cost $150 to $250 and didn’t fix anything. The professional diagnosis takes 10 minutes with a multimeter and costs less than the incorrectly purchased part. This pattern plays out constantly with Mighty Mule and Ghost Controls systems, where the DIY community is large and the advice is often “replace the board” when the board is fine.
Improvised repair materials. Zip ties where a bracket should be. Duct tape over a cracked wheel. A piece of scrap wood propping up a sagging gate panel. These “temporary” fixes have a way of becoming permanent, and they mask the underlying problem until it fails more expensively. A wheel that could have been replaced for $40 becomes a gate derailment that bends the track and requires $300 in repairs.
The pattern underneath all of this: most gate problems are misdiagnosed. Our single-trade focus means we get it right the first time. A gate specialist has seen the same failure mode a hundred times and knows what it is before the toolbox opens. That’s not magic; it’s concentration. When a homeowner tries to acquire that concentration through one-off research, the diagnostic error rate is high, and every error costs money. Explore our more guides & resources to build your knowledge safely.
San Marcos Climate and Its Effect on Gate Components
San Marcos has a specific climate pattern that most generic gate repair advice doesn’t account for. The city sits about 10 miles inland from the coast, which means it gets warmer summer days than Carlsbad or Encinitas, cooler winter nights than Escondido, and a reliable marine layer in late spring that keeps humidity high even when temperatures are mild. That pattern matters for gate components:
Coastal humidity and corrosion. The May and June marine layer in San Marcos isn’t as heavy as it is on the coast, but it’s persistent. Hinges, fasteners, and exposed wire connections develop surface rust faster than inland. Galvanized and stainless hardware holds up; bare steel doesn’t. Our top recommendation for San Marcos gate owners is to inspect all exposed metal every spring when the marine layer settles in, and to address any rust blooming before it gets structural.
Summer heat and electronic components. San Marcos regularly hits the low 90s in August and September, and gate operator cabinets mounted in direct sun can reach 140 degrees internally. Capacitors age faster in heat. Control boards with electrolytic capacitors are especially vulnerable; those capacitors have a rated lifespan at a given temperature, and every degree above that shortens it. A control board that lasts 10 years in a shaded cabinet may last 6 years in full sun. This is why proper operator placement and ventilation matter more in San Marcos than in coastal communities, and why a shade structure over a gate operator cabinet can extend its life meaningfully.
Santa Ana winds and gate force. Every fall, Santa Ana winds sweep through North County from the northeast. A swing gate that operates fine in calm summer conditions can become a wind sail in a Santa Ana event. The operator’s force settings need enough headroom to close the gate against wind resistance without being high enough to become a safety hazard when the wind dies. This is a seasonal adjustment that professionals handle as a matter of course and that most San Marcos homeowners don’t know is a thing until their gate reverses itself three times in one windy afternoon.
Decomposed granite and track wear. Many San Marcos homes in the hillier areas, particularly in neighborhoods like Discovery Hills and parts of San Elijo, use decomposed granite for driveways and paths. Decomposed granite is abrasive. When it gets into slide gate tracks and roller bearings, it accelerates wear significantly faster than standard dirt. Regular track cleaning is not optional for these properties; it’s the difference between a 15-year track and a 7-year track. This is a case where owner-safe maintenance genuinely pays for itself in avoided professional Gate Installation in San Marcos costs down the line.
Common Mistakes to Avoid
These are the specific errors we see San Marcos homeowners make when they attempt gate repairs without professional help. Each one is preventable, and each one costs real money or creates real risk:
- Using WD-40 instead of lithium grease on hinges and rollers. WD-40 is a water displacer, not a lubricant. It washes away existing lubricant and leaves metal nearly dry within days. Gate hinges and rollers need a high-load grease that stays in place under pressure.
- Disconnecting safety devices to fix a closing or opening problem. The photo eye or safety edge is doing its job by preventing the gate from closing into an obstacle. Disconnecting it doesn’t fix the gate; it removes the protection. This creates UL 325 non-compliance and real injury risk.
- Assuming the control board is the problem when the gate is dead. Control boards fail, but they fail less often than transformers, fuses, and corroded connections. Replacing a board on a guess is the most expensive misdiagnosis mistake in gate repair.
- Tightening hinge bolts without checking for gate sag first. A sagging gate panel puts extra load on the operator and will wear out hinges even if the bolts are properly torqued. Address the sag, then torque the hardware.
- Buying aftermarket parts that are “compatible” with a different operator brand. A cheap aftermarket control board or sensor that claims to be “compatible” with a LiftMaster or FAAC unit is rarely as compatible as advertised. We’ve seen aftermarket boards that don’t support certain safety inputs, or that lose programming on power cycles. If you’re going to buy parts yourself, buy genuine parts or none at all.
- Ignoring the manual because the YouTube video seems sufficient. The manual contains torque specs, wiring diagrams, and model-specific procedures that generic videos omit. Skipping it is how you cross-thread a bolt or wire a terminal backwards.
- Treating gate repair as urgent in a way that rushes the diagnosis. A gate repair is urgent when the gate won’t open and a car is trapped inside. It’s not urgent when the gate creaks. Rushing a repair because you’re frustrated leads to cutting corners, and gate systems punish corner-cutting.
When to Call a Professional
Call a professional when the repair involves the operator’s electrical system, when the gate is under warranty and the repair touches anything inside the operator housing, or when you’ve tried an owner-safe repair and the problem persists. Call when the gate won’t open, won’t close, or won’t respond to remotes or keypads. Call when the gate makes a new noise you can’t identify: grinding, popping, or a motor that hums but doesn’t move. Call when the gate has been hit by a vehicle, even if it looks fine, because impact damage to the track or rack often shows up weeks later. Call when the safety devices keep triggering and you can’t find an obstruction. We work on gates exclusively, across nine major brands including LiftMaster, FAAC, BFT, Linear, Viking, Ghost Controls, DoorKing, Elite, and Mighty Mule. Whether your gate won’t open, won’t close, or won’t respond, we diagnose the real cause. Gate Repair San Marcos offers free estimates in San Marcos, and the price is agreed before any work starts. Call (877) 798-8589.
Frequently Asked Questions
You can safely handle owner-maintenance tasks on your electric gate, including lubrication, track cleaning, remote reprogramming, and battery backup replacement. Repairs that involve force settings, limit switches, control boards, motor wiring, or safety sensors should be left to a professional because incorrect adjustments create UL 325 safety violations and can void the manufacturer warranty.
Professional gate repair in San Marcos typically ranges from $175 to $450 for most common repairs, including hinge replacement, track realignment, sensor replacement, and transformer or fuse replacement. Control board replacement and motor replacement run higher, typically $350 to $900 depending on the operator brand and model. Estimates are free, and the price is quoted and agreed before work begins.
If a DIY repair attempt goes wrong, the most common outcomes are additional parts damage, stripped fasteners, disengaged safety systems, and voided warranties. A professional will typically need extra time to undo the failed attempt before addressing the original problem, which adds $60 to $150 to the total repair cost. In cases where safety devices were bypassed, the homeowner has also created a code violation that needs to be corrected.
For maintenance tasks, yes: DIY lubrication, track cleaning, and photo eye cleaning save $350 to $600 per year with minimal risk. For electrical or operator repairs, no: the typical failed DIY repair costs $150 to $250 in wasted parts plus the eventual professional repair, which exceeds the cost of calling a professional first by a wide margin.
Most San Marcos gate professionals, including Gate Repair San Marcos, work on the full range of operator brands sold in the region: LiftMaster, FAAC, BFT, Linear, Viking, Ghost Controls, DoorKing, Elite, and Mighty Mule. Experience across nine brands matters because diagnostic patterns vary from one manufacturer to another, and a brand-agnostic technician identifies root causes rather than defaulting to part replacements.
Yes. San Marcos gets coastal humidity in late spring, dry heat in late summer, and Santa Ana winds in fall. That combination accelerates corrosion on exposed metal, stresses electronic components in sun-exposed operator cabinets, and increases wear from abrasive decomposed granite in slide gate tracks. Plan for quarterly lubrication, spring rust inspection, and fall force-settings awareness.
The Bottom Line
The DIY vs professional decision for gate repair in San Marcos comes down to a clear line: owner-safe maintenance on your side, electrical and operator work on the professional side. Nothing about that division is a judgment on anyone’s competence. It’s a recognition that UL 325 safety standards, manufacturer warranty clauses, and the diagnostic patterns of nine different operator brands create genuine complexity that rewards specialization. The homeowners who get gate repair right are the ones who know where the line sits, not the ones who insist on doing everything themselves. For the tasks on your side of the line, do them and save the money. For everything else, call us. We specialize exclusively in gates. It’s all we do. Call (877) 798-8589 for a free estimate.
Written by the team at Gate Repair San Marcos, serving San Marcos since 2011.
See the difference
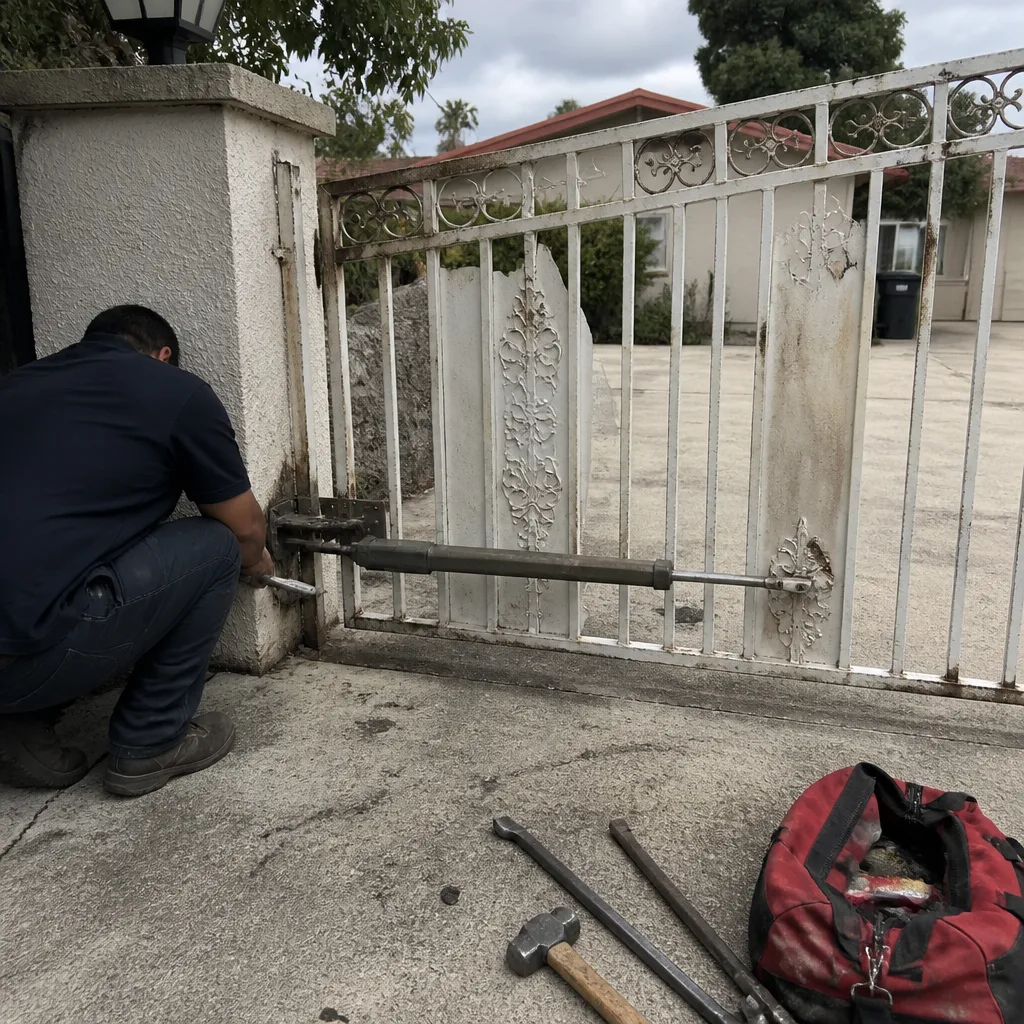 Before
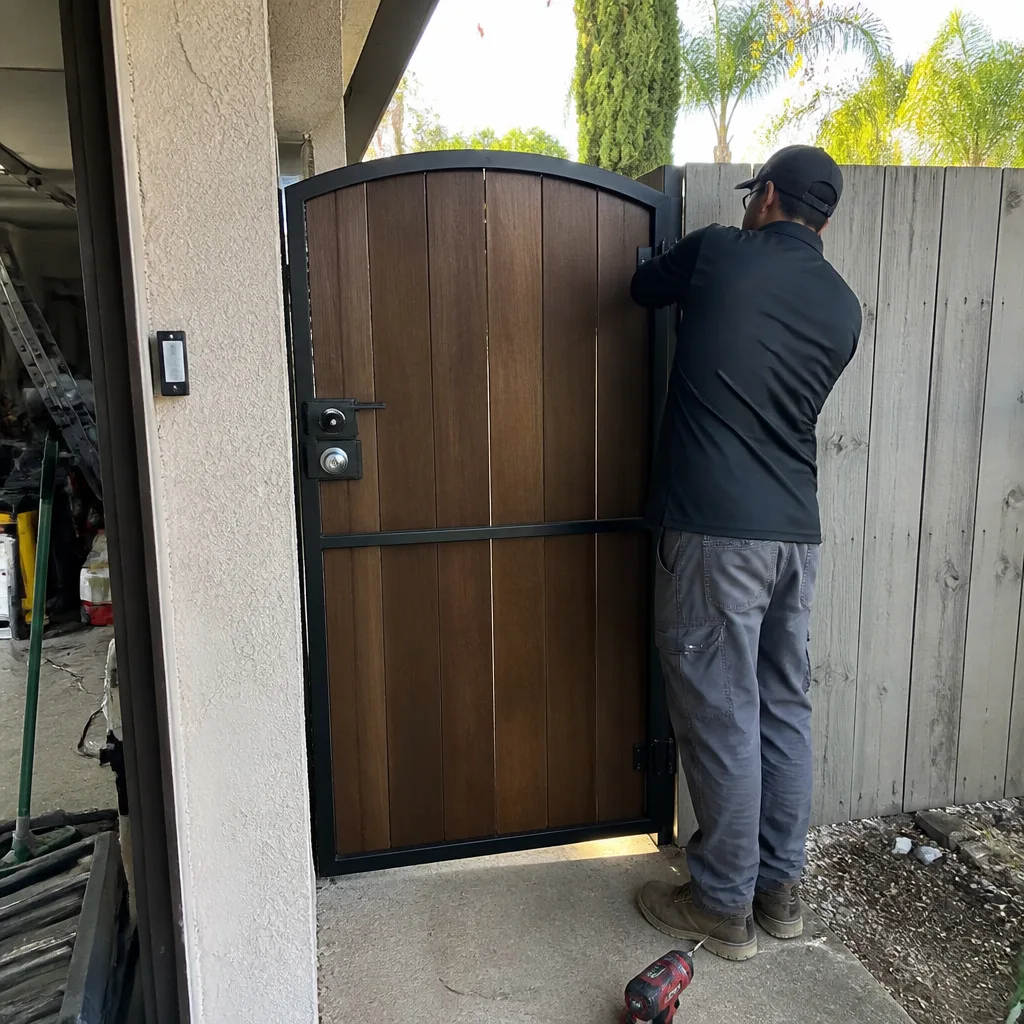 After
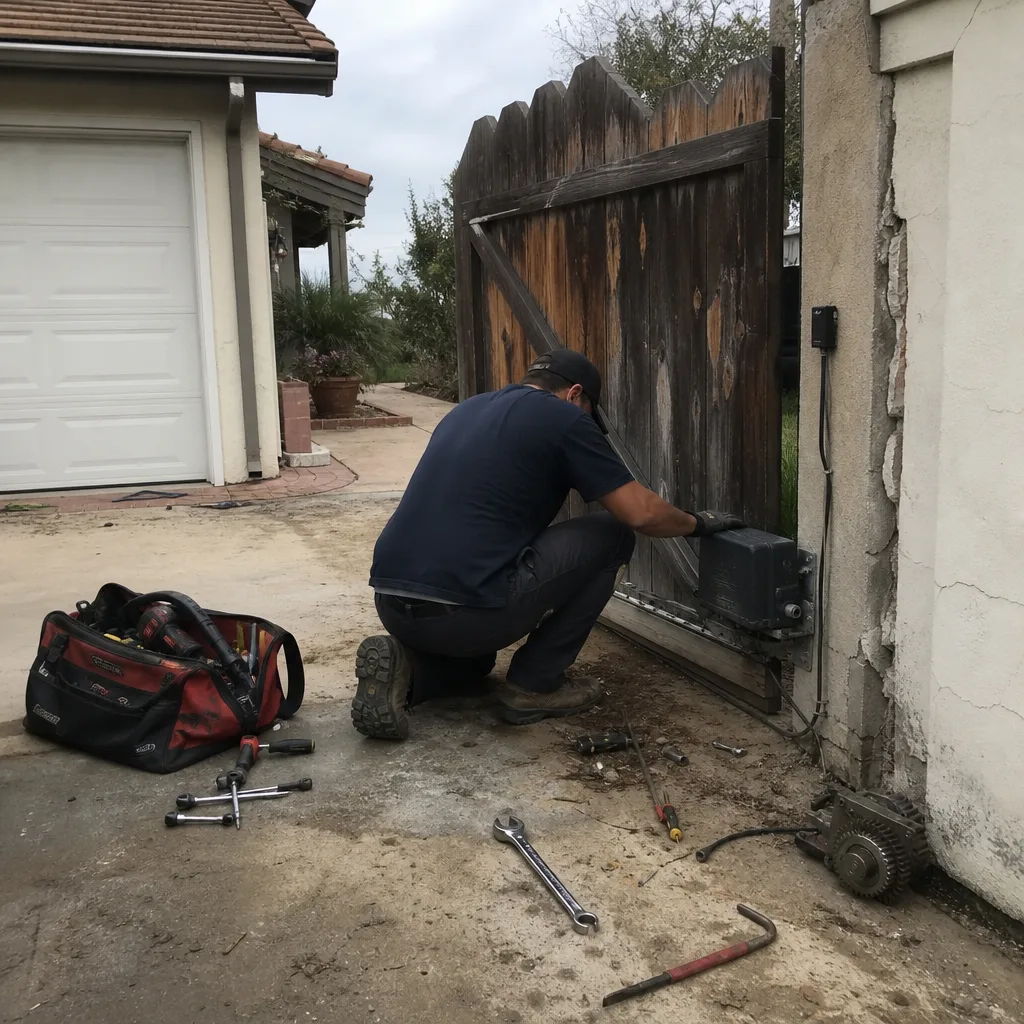 Before
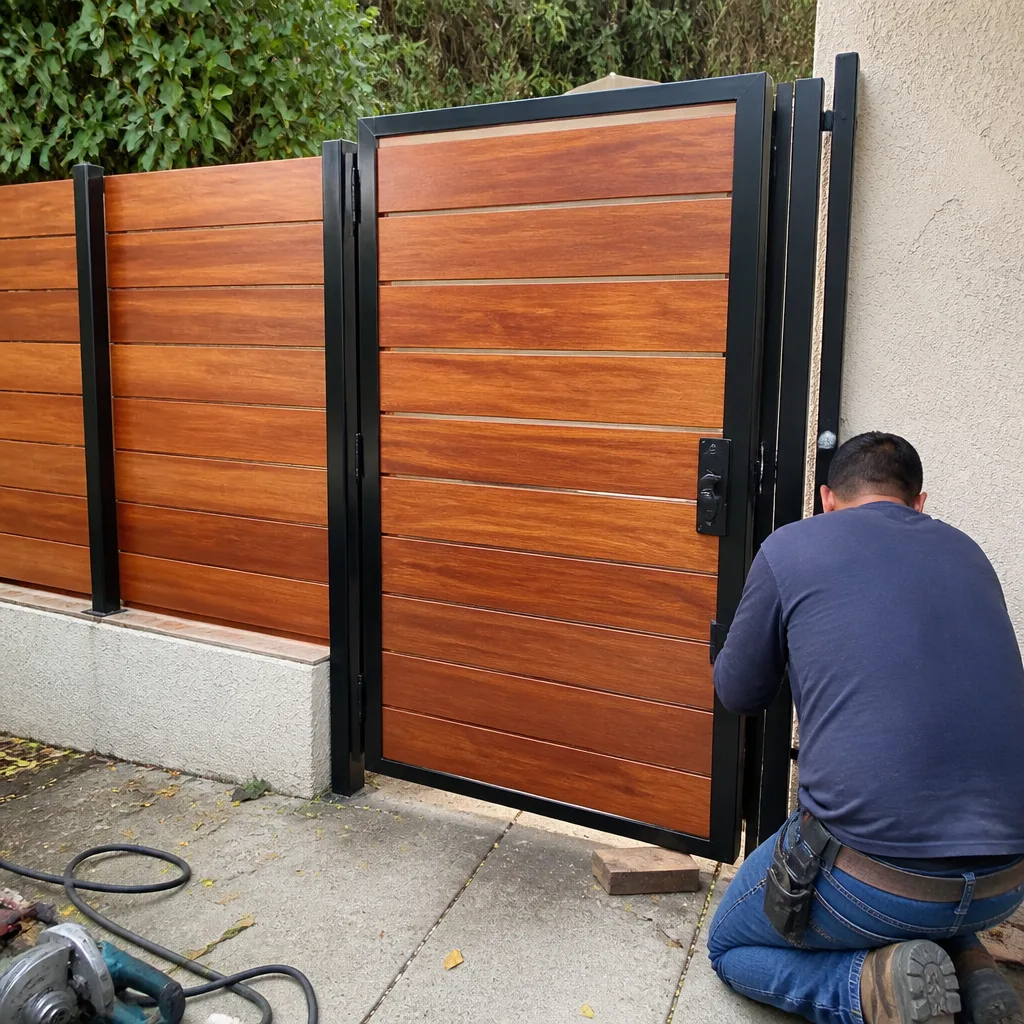 After
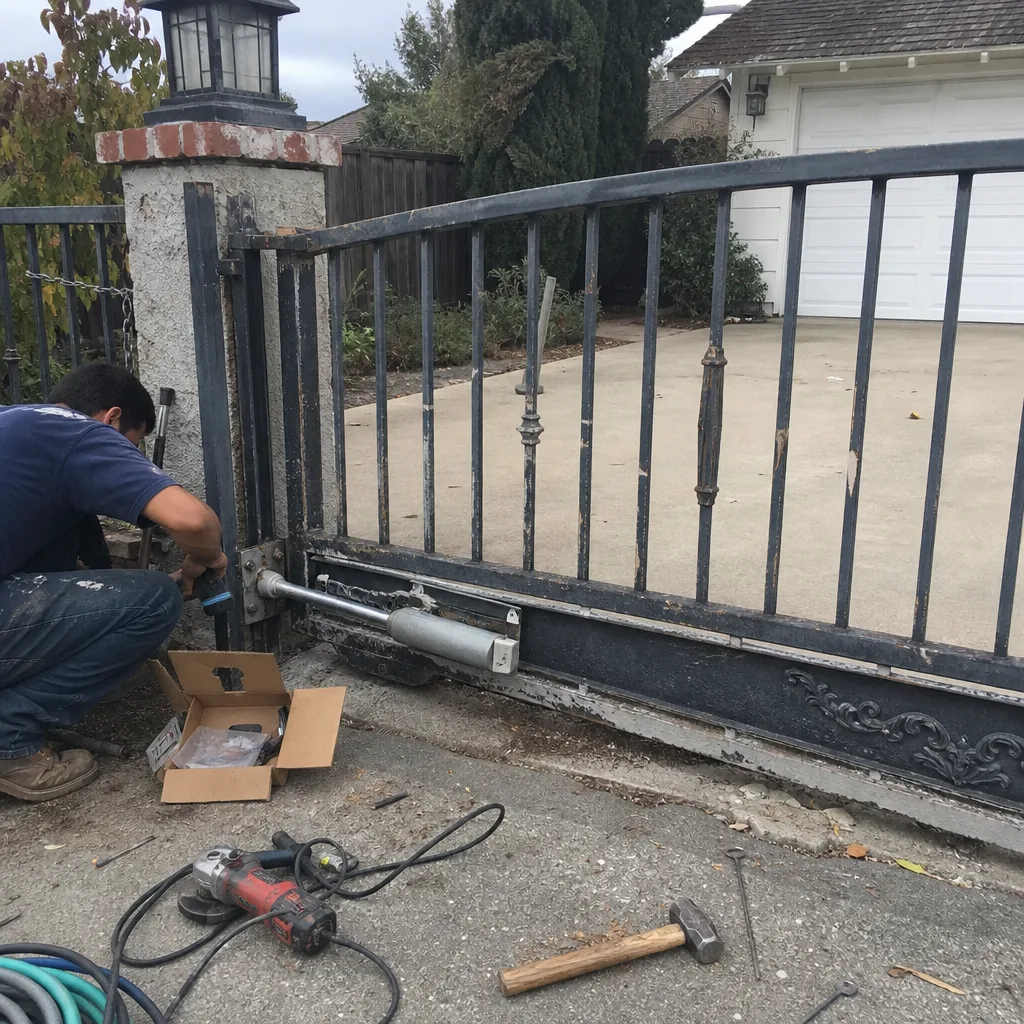 Before
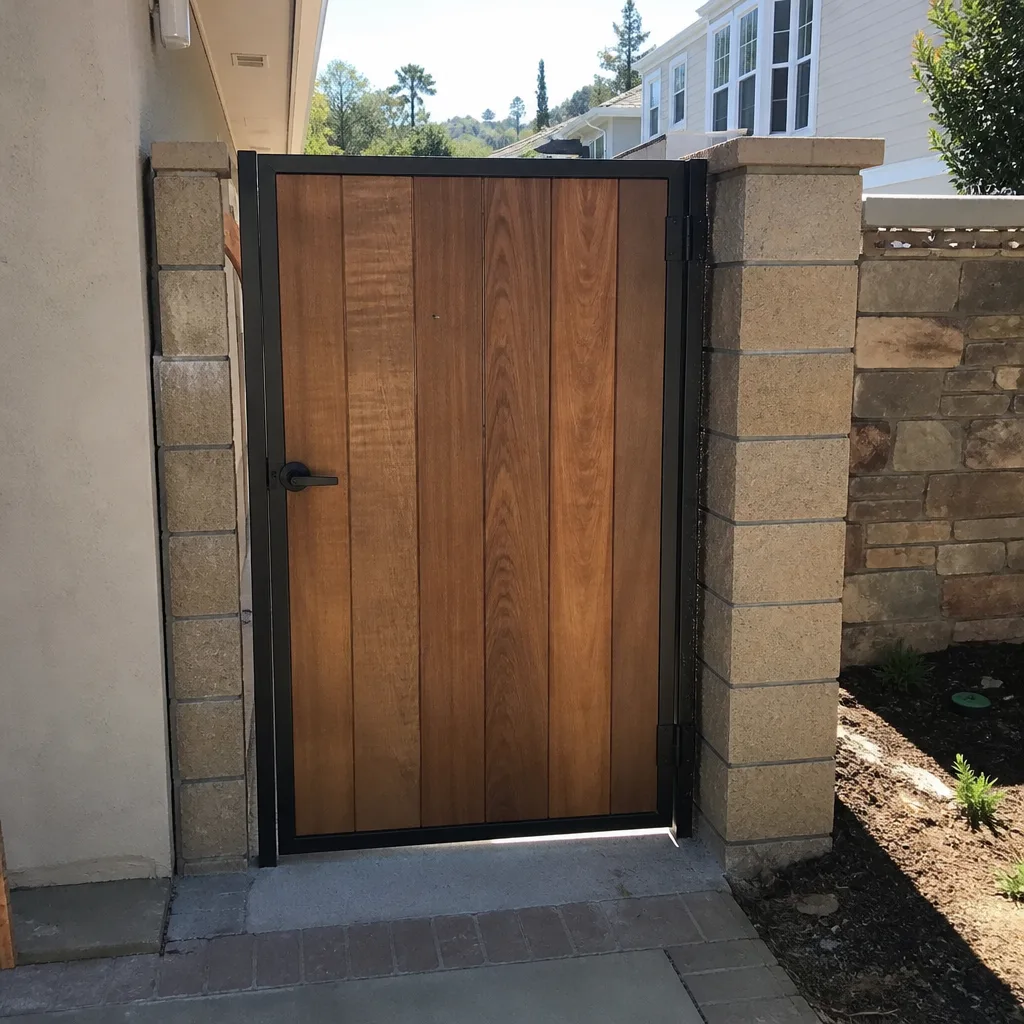 After