
Last updated November 2, 2026
 Wrought iron
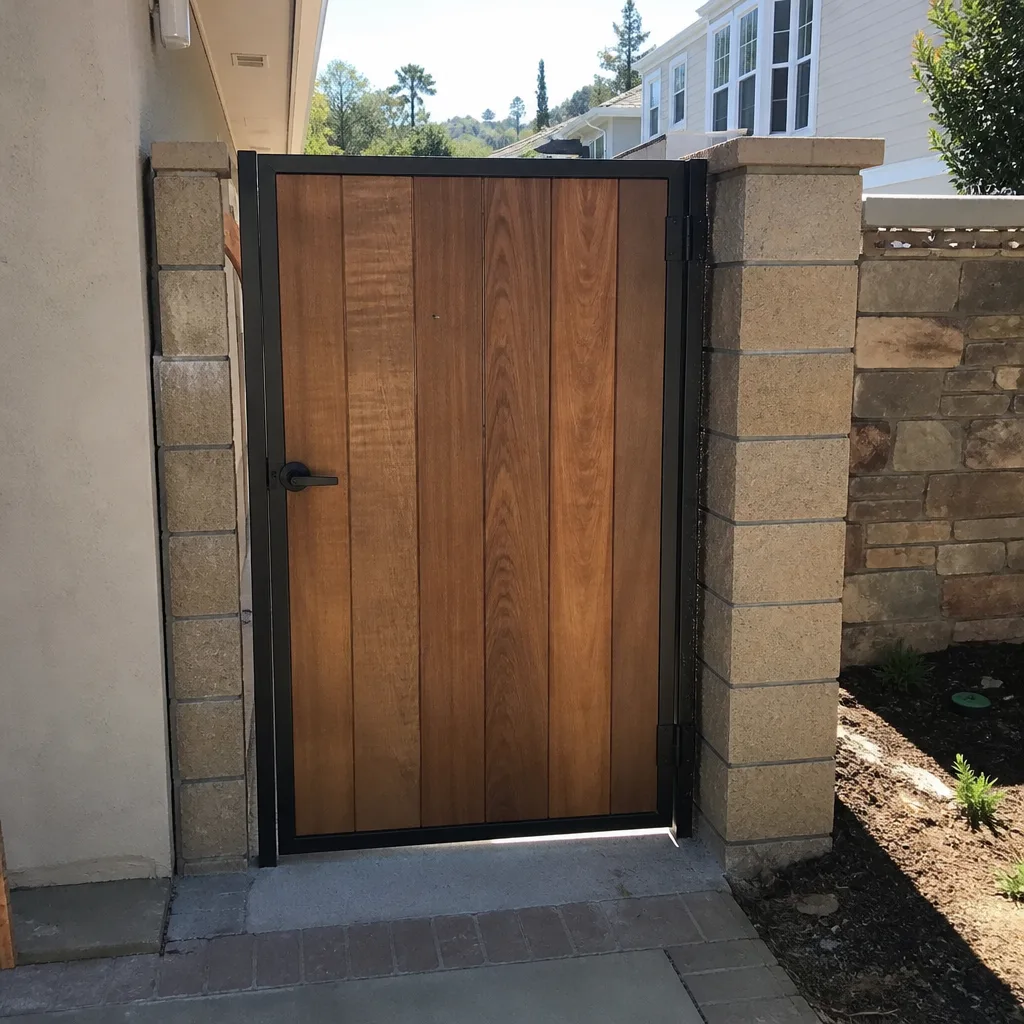
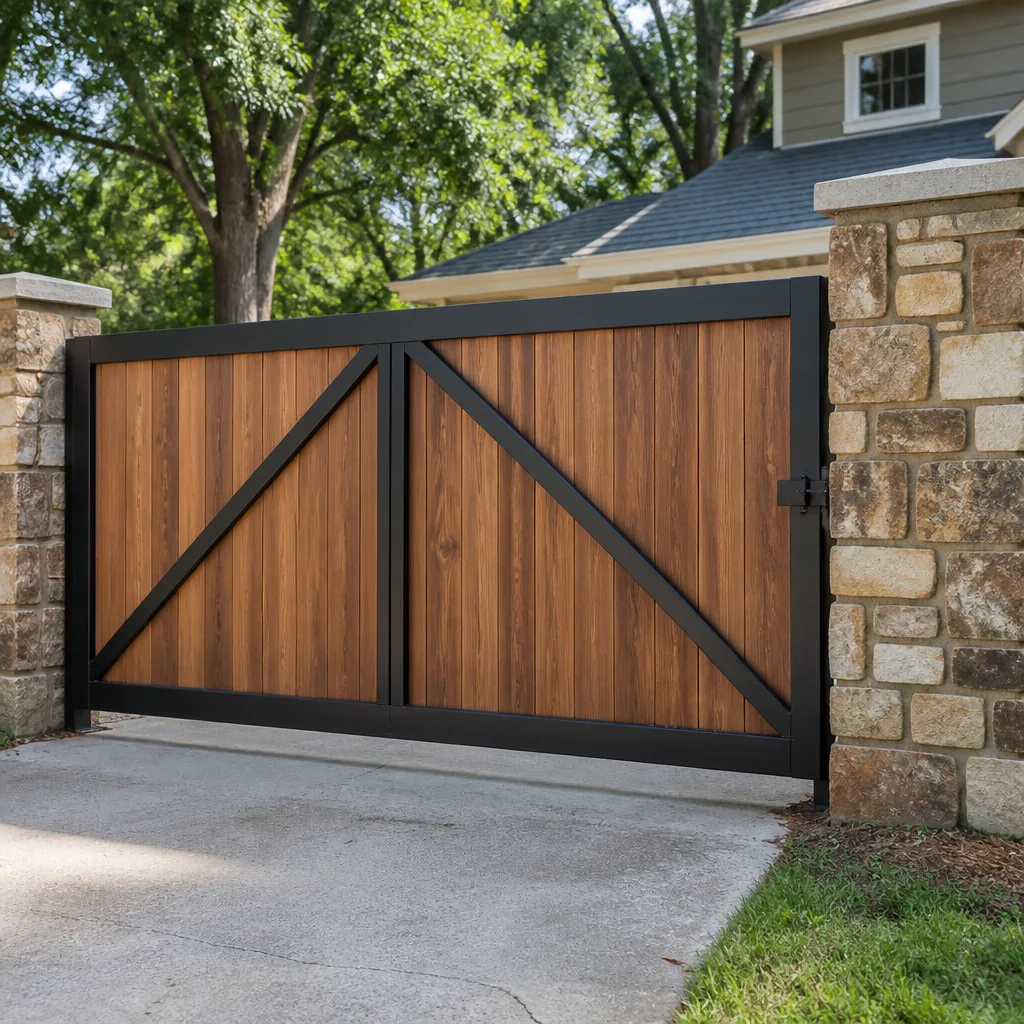 Wood & steel frame
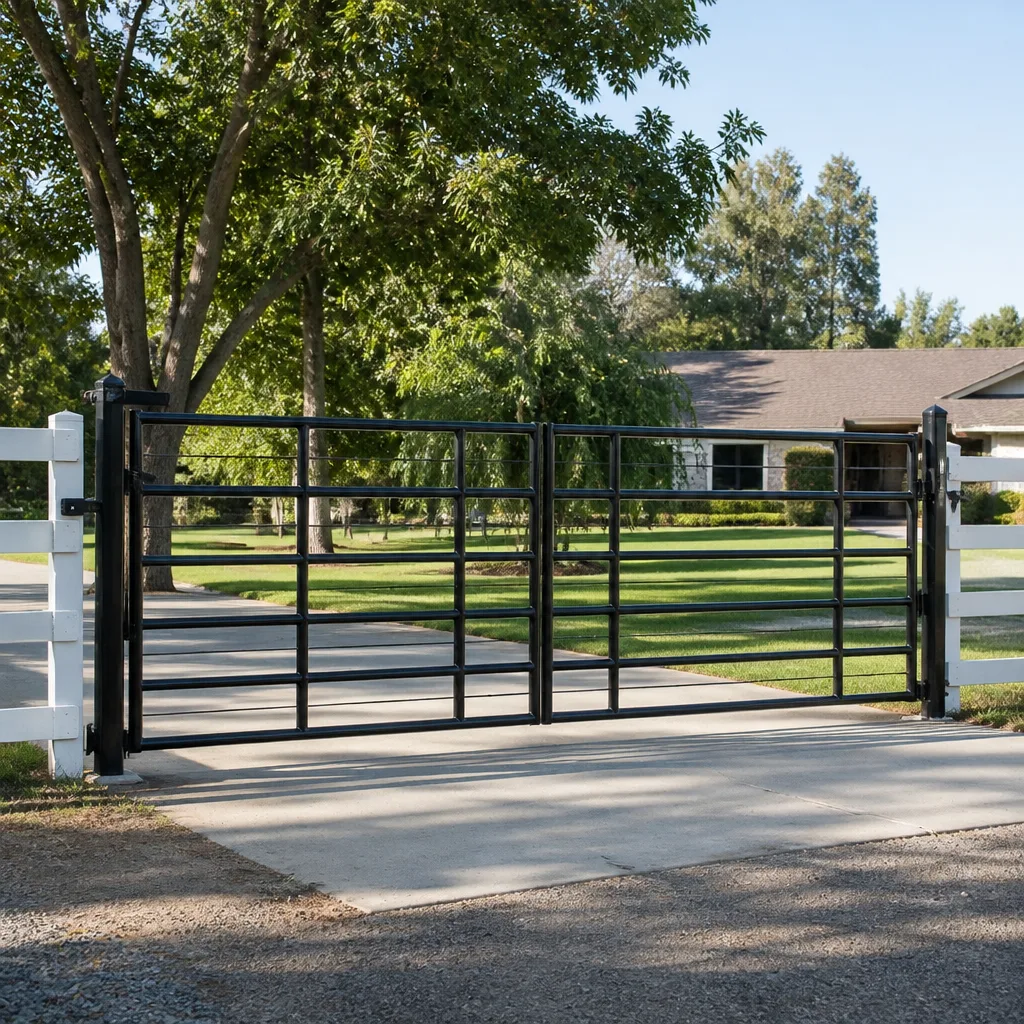 Farm & ranch
 Sliding driveway gates
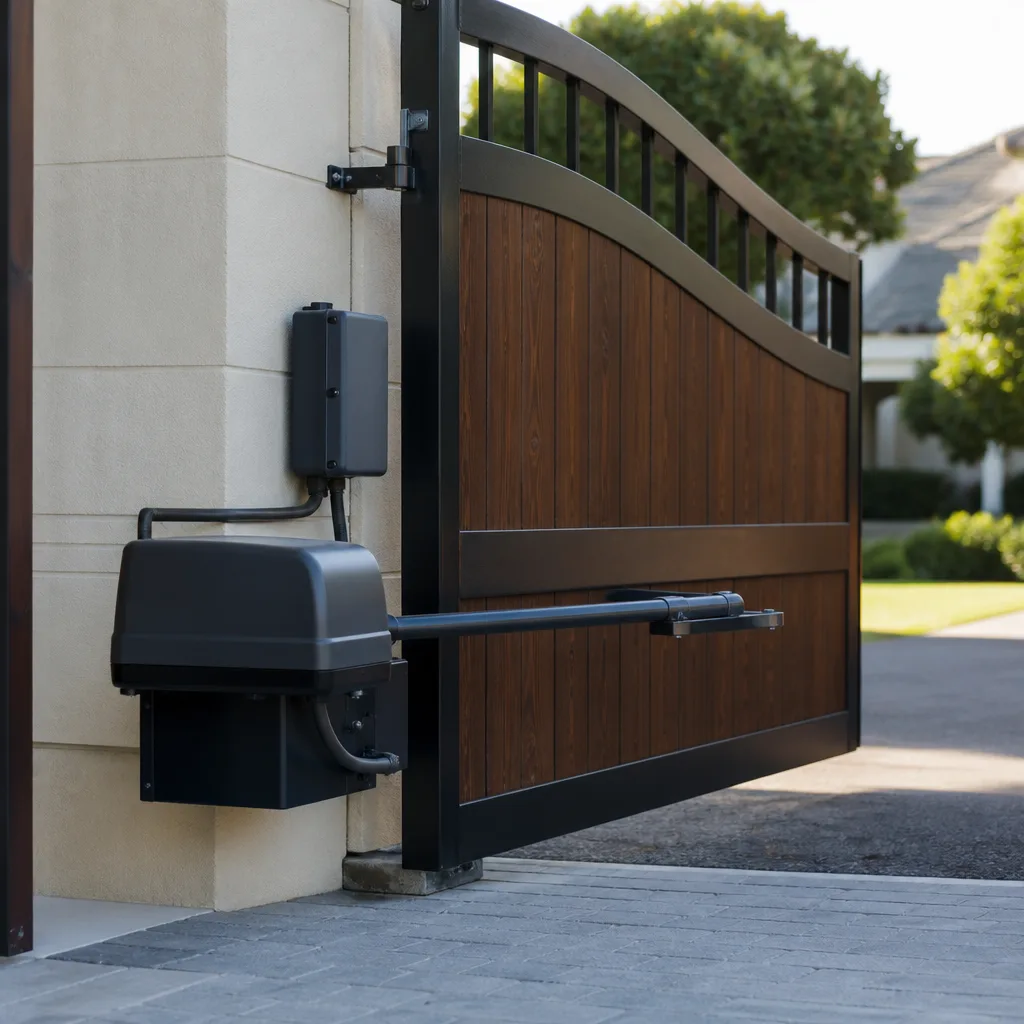 LiftMaster operators
Free on-site gate assessment - hinges, posts, and your LiftMaster or Nice gate operator checked before anything is quoted
The assessment is free and the quote is the invoice.
Get your free estimateGate Repair Maintenance Checklist for San Marcos Homeowners
Most homeowners assume a gate that opens and closes is a healthy gate. In our experience, that assumption is exactly what turns a $180 hinge adjustment into a $1,400 operator replacement. The average technician finds rust, debris, and hinge wear on a maintenance call – but the problems that actually cause failures are hiding in the wiring harness, the limit switch calibration, and the battery backup, none of which make it onto most homeowner checklists. This guide gives San Marcos homeowners a technically complete maintenance routine that covers mechanical, electrical, and software components, so nothing gets missed between professional service visits.
Styles & brands we work with
- Wrought iron
- Wood & steel frame
- Farm & ranch
- Sliding driveway gates
- LiftMaster operators
Quick Answer
A complete gate maintenance checklist for San Marcos covers three layers: mechanical components (hinges, rollers, track alignment, weld integrity), electrical systems (wiring connections, battery backup, safety sensors, loop detectors), and software settings (limit calibration, timer logic, remote codes). Homeowners should handle monthly visual and mechanical checks, quarterly electrical and sensor tests, and leave annual deep inspections – especially anything involving high-voltage wiring or spring tension – to a gate repair specialist.
Table of Contents
- The Mechanical Checklist: Hinges, Rollers, Track, and Welds
- The Electrical Checklist: Wiring, Battery Backup, and Sensors
- The Software and Programming Checklist: Limits, Timers, and Codes
- Monthly Owner Tasks vs. Quarterly Owner Tasks vs. Annual Professional Tasks
- How to Test Gate Sensors and Safety Loops Without Specialized Equipment
- San Marcos Environmental Additions: Salt Air, Dust, and Dry Season
- Red Flags That Should Stop the Checklist Immediately
- Common Mistakes to Avoid
- When to Call a Professional
- Frequently Asked Questions
- The Bottom Line
The Mechanical Checklist: Hinges, Rollers, Track, and Welds
Mechanical wear is the only part of gate maintenance you can actually see, which is why it gets all the attention – and why it’s usually the least of your problems. Still, it matters. A gate that drags on its hinges puts extra load on the operator motor, and that extra load shortens the motor’s life by years, not months. In San Marcos, where dry-season dust works its way into every moving joint, mechanical neglect turns into electrical failure faster than most homeowners expect.
Here’s what to inspect every month, in order of importance:
- Hinge lubrication and wear: Listen for squeaking or grinding during operation. A dry hinge forces the operator to work harder. Use a lithium-based grease, not WD-40, which washes out quickly.
- Roller condition on slide gates: Check for flat spots, wobble, or debris packed into the roller bearings. A seized roller can derail a 400-pound gate.
- Track alignment: Walk the full length of the track. Look for gaps between the gate wheels and the rail, bent sections, or loose mounting bolts.
- Weld inspection on steel gates: Surface rust at weld points is normal after a few coastal seasons. Cracks are not. If you see a crack forming at a weld, stop using the gate and call a professional before it separates.
- Gate level and plumb: Stand back and sight down the gate line. A gate that leans more than a few degrees is telling you something – usually a failing hinge post or settling concrete.
One thing most checklists miss: check the gate’s full travel path. Overgrown landscaping, a shifted paver, or a new planter can obstruct the gate’s swing or slide path and cause the operator to reverse or fault. In San Marcos yards where bougainvillea and lantana grow fast in the warm season, plant growth is a legitimate mechanical obstruction.
The Electrical Checklist: Wiring, Battery Backup, and Sensors
This is the section that separates a real maintenance routine from a landscaping inspection. The electrical system is where gates actually fail, and it’s also where homeowners are least comfortable poking around. That’s fine – you don’t need to touch live wires to catch most problems. You need to know what to look for and what to test.
Visual wiring inspection (monthly, power off at the breaker first):
- Open the operator cover. Look for corroded terminals, especially green or white crust on copper connections.
- Check for rodent damage. Rats and mice chew wire insulation, and San Marcos canyons have plenty of both. Look for exposed copper or frayed insulation.
- Inspect the low-voltage wiring run from the operator to the keypad, intercom, and safety devices. Exposed conduit, cracked junction boxes, or water intrusion are flags.
- Look for any wire that has been pinched by the gate frame during operation. Pinched wires cause intermittent faults that are hard to diagnose later.
Battery backup test (quarterly): Most automatic gate operators have a battery backup that keeps the gate working during a power outage. In San Marcos, where wind events and rolling summer brownouts are common, that battery matters. Test it by flipping the operator’s breaker off and trying to cycle the gate. If the gate won’t move, or moves slowly, the battery is due for replacement. Nine times out of ten, a homeowner who says “the gate only fails during power outages” has a dead backup battery.
Safety sensor test (quarterly): Every automatic gate in California is required to have a reversing mechanism – either photoelectric sensors or contact edges – that stops and reverses the gate when it hits an obstruction. Test it by holding a cardboard box or trash can in the gate’s path and pressing the remote. The gate should stop and reverse before crushing the object. If it doesn’t, that’s an immediate service call, not a note on your to-do list.
For electric gate repair diagnostics that go deeper than visual checks, our Electric Gate Repair in San Marcos page explains the full diagnostic process.
The Software and Programming Checklist: Limits, Timers, and Codes
The software layer is the most overlooked part of gate maintenance because you can’t see it, can’t touch it, and most homeowners don’t know it exists beyond programming a remote. But limit settings drift. Timer logic gets corrupted. Remote codes get stale. And when software fails, the gate behaves like it has a mechanical problem when it doesn’t.
Here’s the quarterly software checklist:
- Limit switch calibration: Run the gate and watch where it stops in both directions. It should stop exactly at the closed position – not half an inch short, not slamming into the stop. If it over-travels or under-travels, the limits have drifted and the operator is fighting itself. Recalibration is a 20-minute fix for a technician and a component-killer if ignored.
- Auto-close timer: If your gate is set to close automatically after a vehicle passes, time it. A timer that closes too fast is a safety risk. A timer that never closes leaves your property open. Verify the setting matches what you think it is.
- Remote control inventory: Count the remotes and keypad codes currently programmed to the system. Former tenants, contractors, housekeepers, or anyone who ever had a code and shouldn’t now is a security gap. Clearing and reprogramming remotes is a 15-minute job that closes that gap.
- Battery check in remotes and keypads: Weak remote batteries cause intermittent operation that homeowners often mistake for a failing operator. Replace remote and keypad batteries every 12 months regardless of whether they seem weak.
- Solar panel output (if equipped): San Marcos has strong sun, but that doesn’t mean your solar panel is performing. Dust on the panel surface reduces charging efficiency. Clean it quarterly, and check that the panel is still angled toward the southern sky.
We service systems from LiftMaster, FAAC, Elite, and other major brands, and the programming interfaces differ significantly between them. What takes two button presses on one operator takes a menu dive on another. If you’re not sure how to access your system’s settings menu, that’s normal. It’s also a sign that the annual professional check should go deeper than the homeowner check ever can.
Monthly Owner Tasks vs. Quarterly Owner Tasks vs. Annual Professional Tasks
One of the biggest mistakes homeowners make is either doing nothing at all, or trying to do everything themselves, including jobs that require a trained technician and specialized tools. Here’s the honest division of labor – what you should handle, and what you should hand off.
Monthly Owner Tasks (15-20 minutes)
- Visual inspection of hinges, rollers, track, and welds
- Lubricate hinges and pivot points with lithium grease
- Clear debris, leaves, and plant growth from the gate path
- Check for exposed or damaged wiring visible along the gate frame
- Listen for unusual sounds during operation – grinding, clicking, humming
Quarterly Owner Tasks (30-45 minutes)
- Test safety sensors with a cardboard obstruction
- Test battery backup by cutting power at the breaker
- Check limit switch accuracy during open and close cycles
- Clean the operator cover and motor vents
- Clean solar panel surface if equipped
- Verify auto-close timer setting
- Review and clear remote control codes
Annual Professional Tasks (60-90 minutes)
- Full diagnostic scan of the control board for fault codes and voltage irregularities
- Torque check on all mounting bolts, hinge bolts, and operator brackets
- Inspection of internal wiring connections and wire nut security
- Limit switch recalibration and auto-close timer verification
- Lubrication of operator gears and chains
- Battery backup load test under real operating conditions
- Loop detector sensitivity testing on driveway sensors
- Safety device compliance check against current California gate safety standards
The annual professional visit catches what homeowner checks can’t: internal component wear, developing electrical faults, and calibration drift before they become failures. For a more detailed breakdown of what a full gate repair service looks like, see our Gate Repair in San Marcos page.
How to Test Gate Sensors and Safety Loops Without Specialized Equipment
You don’t need a multimeter or any specialized tools to verify that your gate’s safety systems are working. You need a cardboard box, a metal object, and about ten minutes. Here’s the sequence we recommend, in order:
- Photoelectric sensor test: Place a cardboard box directly between the photo eye sensors on either side of the gate opening. Press the remote to close the gate. The gate should refuse to close, or should stop and reverse. If it closes on the box, the sensors are misaligned, dirty, or failed.
- Contact edge test (if your gate has a rubber safety edge): Press the remote to close the gate, then press firmly against the rubber edge with a gloved hand as it approaches. The gate should stop and reverse within one second of pressure. If it keeps closing, the contact edge strip is failing.
- Loop detector test: Drive a car slowly through the gate opening, then stop with the car sitting directly on the driveway loop. Press the remote. The gate should not close while the vehicle occupies the loop. A functioning loop detector is what prevents the gate from closing on your car. If the gate closes on the vehicle, the loop is out of adjustment or failing.
- Manual release test: Pull the manual release handle on the operator. The gate should move freely by hand in both directions without resistance. If it’s hard to move manually, the mechanical system has a problem that the operator has been masking.
These four tests take ten minutes and catch the majority of safety and mechanical issues before they become breakdowns. If any test fails, note which one and call a gate specialist – or consult our gate repair troubleshooting guide for initial diagnosis – this is not a “wait and see” situation.
San Marcos Environmental Additions: Salt Air, Dust, and Dry Season
San Marcos sits about 10 miles inland from the coast, close enough that marine air reaches it on most days, but far enough that the climate swings more than a coastal city. That combination creates specific maintenance challenges that a generic checklist won’t address.
Salt air corrosion: The marine layer that rolls through San Marcos in the mornings carries salt that settles on exposed metal surfaces – especially electrical terminals and connector pins. Over time, that salt creates corrosion that increases resistance in electrical circuits and eventually causes intermittent faults. Homeowners within a few miles of the coastal influence should inspect exposed terminals quarterly and consider applying dielectric grease to connector pins as a preventive measure.
Dry-season dust accumulation: San Marcos summers are dry, and the decomposed granite common in local landscaping turns to fine dust that works its way into motor vents, control board enclosures, and limit switch housings. That dust acts as an insulator, causing motors to run hotter and control boards to fail prematurely. If your operator sits near a dirt path, unpaved driveway, or heavily landscaped yard, clean the motor vents every two months during the dry season, not just quarterly.
Temperature swings on electronics: San Marcos can see 40-degree temperature swings between night and day, especially in the inland valleys. Those swings expand and contract solder joints on control boards. If your gate works fine in the morning but fails in the afternoon heat, that pattern points to a heat-related board issue, not a mechanical problem.
Red Flags That Should Stop the Checklist Immediately
Some findings shouldn’t be noted on a checklist and addressed later. They should stop you from using the gate until a professional has looked at it. Here are the red flags, in order of urgency:
- The gate reverses for no reason: A gate that opens, then immediately reverses, or closes and then reopens, is usually telling you the safety circuit is detecting a phantom obstruction – or the limit switch has failed. Either way, the gate is not safe to use and the cause needs professional diagnosis.
- You smell burning or see scorch marks: Any burning smell from the operator means a motor winding, capacitor, or control board component is overheating. Kill power at the breaker and leave it off until a technician arrives.
- The gate sags more than an inch at the latch point: A sagging gate is a hinge failure in progress. The extra weight on the operator shortens its life dramatically, and a full hinge failure drops a heavy gate on whatever is under it.
- Sparks, buzzing, or arcing sounds from the operator: Buzzing with no movement usually means the capacitor has failed or the motor is seized. Sparks mean a short. Either is a power-off-and-call situation.
- Safety devices fail any of the tests in the previous section: A gate that doesn’t reverse on obstruction is a serious safety hazard, full stop. This should trigger an immediate service call, not a note on the fridge.
- The gate moves slowly or struggles in one direction: This can indicate a failing motor, a hydraulic leak, or a mechanical bind. None of those self-correct. They all get worse with use.
If you hit any of these red flags, skip the rest of the checklist. Call a gate specialist who can diagnose the root cause in a single visit. For more on what a full diagnostic covers, our Gate Repair San Marcos home page details the complete service scope.
Common Mistakes to Avoid
- Using WD-40 on hinges and rollers. WD-40 is a solvent, not a lubricant. It washes out existing grease and leaves the joint drier than before. Use a lithium-based grease or white lithium spray instead.
- Ignoring a gate that’s “a little slow.” Slow operation is never normal. It means the operator is working harder than it should, and the cause is either mechanical resistance, electrical degradation, or a failing motor. All three compound.
- Spraying lubricant into the operator housing. The inside of the operator is not a lubrication point. Oil spray inside the housing attracts dust, shorts control boards, and coats sensors. Lubricate only the external pivot points and hinges.
- Adjusting limit switches by trial and error. Limit settings are calibrated to specific voltage and travel parameters. Guessing at them can cause the gate to over-travel, damage the operator, or defeat safety stops. This is a technician job.
- Forgetting the battery backup until the power goes out. By the time you discover the backup battery is dead during an outage, you’re manually releasing the gate in the dark. That’s the worst time to learn it failed. Test it quarterly on your schedule.
- Treating remote control problems as operator problems. If the gate works from the keypad but not from one specific remote, the operator is fine. Replace the remote battery first, then check programming before calling for a repair you don’t need.
- Skipping the safety sensor test because “it worked last time.” Safety devices are designed to fail quietly. A sensor that passed six months ago can be misaligned, dirty, or dead today. Testing takes one minute. Not testing can cost far more.
When to Call a Professional
Call a gate specialist when you hit any red flag in the previous section, when a safety device fails a test, when you hear new noises you can’t identify, or when the gate’s behavior changes in any way you can’t explain. Also call when the annual professional tasks come due – the deep electrical, calibration, and compliance work that requires training and bench equipment. Gate Repair San Marcos offers free estimates in San Marcos – call (877) 798-8589 to schedule a diagnostic visit. We work on systems from LiftMaster, FAAC, Elite, and other major brands, and we diagnose the root cause in a single visit rather than replacing parts until the symptom goes away. For homeowners considering a full system replacement rather than repeated repairs, our Gate Installation in San Marcos page walks through the process from measure to final programming.
Frequently Asked Questions
A quality automatic gate operator in San Marcos typically lasts 8 to 12 years with proper maintenance, though salt air exposure and dry-season dust can shorten that to 6 to 8 years for systems that are neglected. The motor itself is rarely the first component to fail – control boards and limit switches usually go first. Call (877) 798-8589 if your operator is more than 8 years old and showing intermittent symptoms, because a repair on an aging system is often cheaper than waiting for the failure.
Professional gate maintenance in San Marcos typically runs between $150 and $300 per visit depending on the gate type, operator model, and the depth of the inspection. That cost is significantly less than a single emergency repair on most systems. For an exact quote on your specific gate, call (877) 798-8589 – estimates are free.
Homeowners can and should handle monthly visual checks, lubrication, debris clearing, and the quarterly sensor and battery tests described in this guide. Anything involving wiring, control board programming, limit switch calibration, or safety circuit troubleshooting should be left to a trained gate technician. The line is simple: if the task requires opening the operator housing and touching electrical connections, it’s a professional job. For context on permits and legal requirements, see Gate Repair Permits, Codes & Inspections in CA: What You Need to Know.
A gate that fails only during the hottest part of the day is usually suffering from heat-related expansion on a control board solder joint or a failing capacitor that degrades as temperature rises. This pattern is common in San Marcos inland valleys where afternoon temperatures spike. The fix requires bench diagnosis of the board and component replacement – not a mechanical adjustment.
Safety sensors don’t have a fixed replacement interval. They should be tested quarterly and replaced when they fail to detect obstructions, show visible physical damage, or display intermittent fault behavior. The photoelectric eyes on most gates last 5 to 10 years, but coastal salt air can accelerate corrosion on exposed sensor housings in San Marcos.
A full gate installation includes the gate frame and panels, hinges or track system, operator motor, control board, safety devices, wiring, and final programming and testing. A repair addresses one specific failed component. If your gate needs repairs totaling more than 60% of the replacement cost, or the structural steel is compromised, installation is often the better financial decision. Call (877) 798-8589 for a free assessment of which path makes sense for your gate.
The Bottom Line
A real gate maintenance routine covers three layers: the mechanical hardware you can see, the electrical system you can’t, and the software settings you didn’t know existed. Monthly owner checks on hinges, track, and debris take 15 minutes. Quarterly sensor, battery, and limit tests take under an hour. The annual professional deep inspection catches what those checks can’t – and in San Marcos, where salt air and dry dust accelerate every failure mode, skipping the annual visit is a bet you’ll lose sooner than later. Run through this checklist on schedule, and your gate will outlast the operator manual it came with. For more guides & resources, visit our blog.
Written by the team at Gate Repair San Marcos, serving San Marcos since 2011.
See the difference
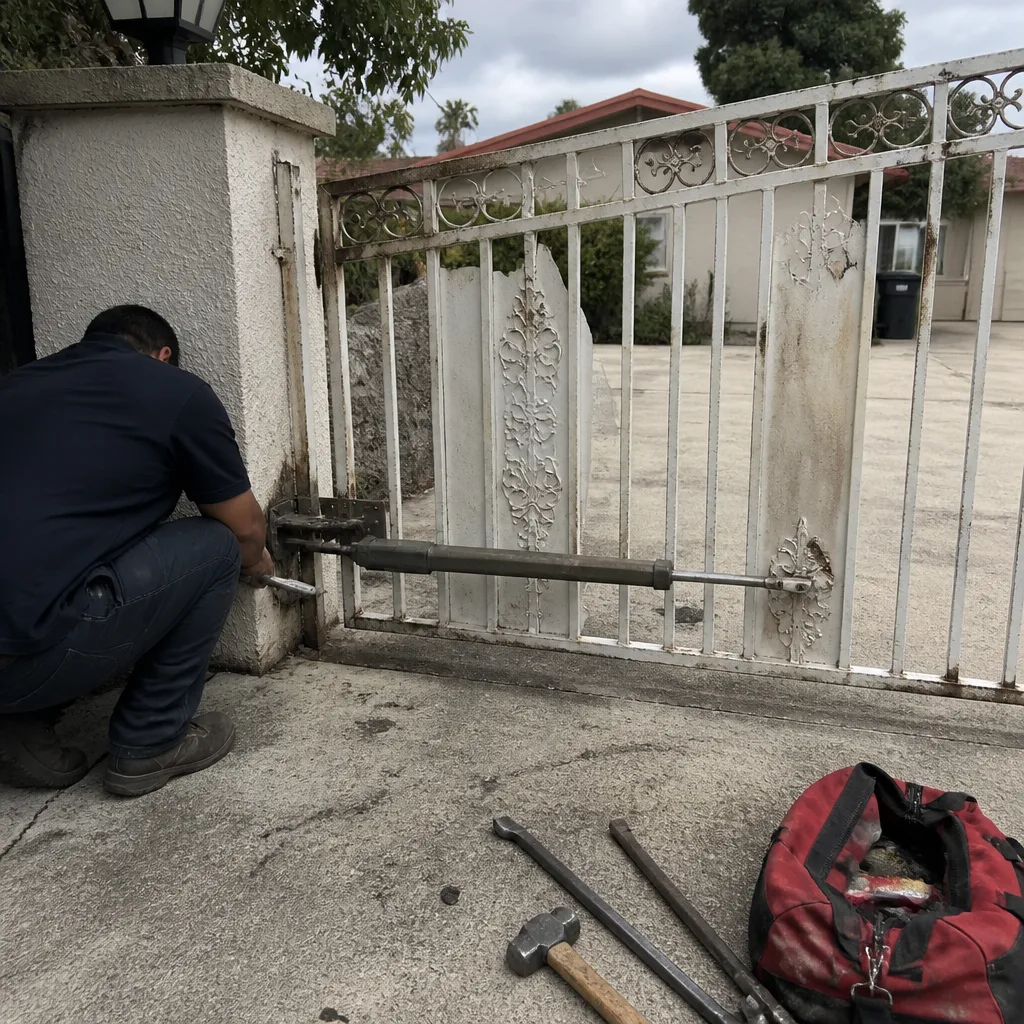 Before
 After
 Before
 After
 Before
 After