
Last updated November 2, 2026
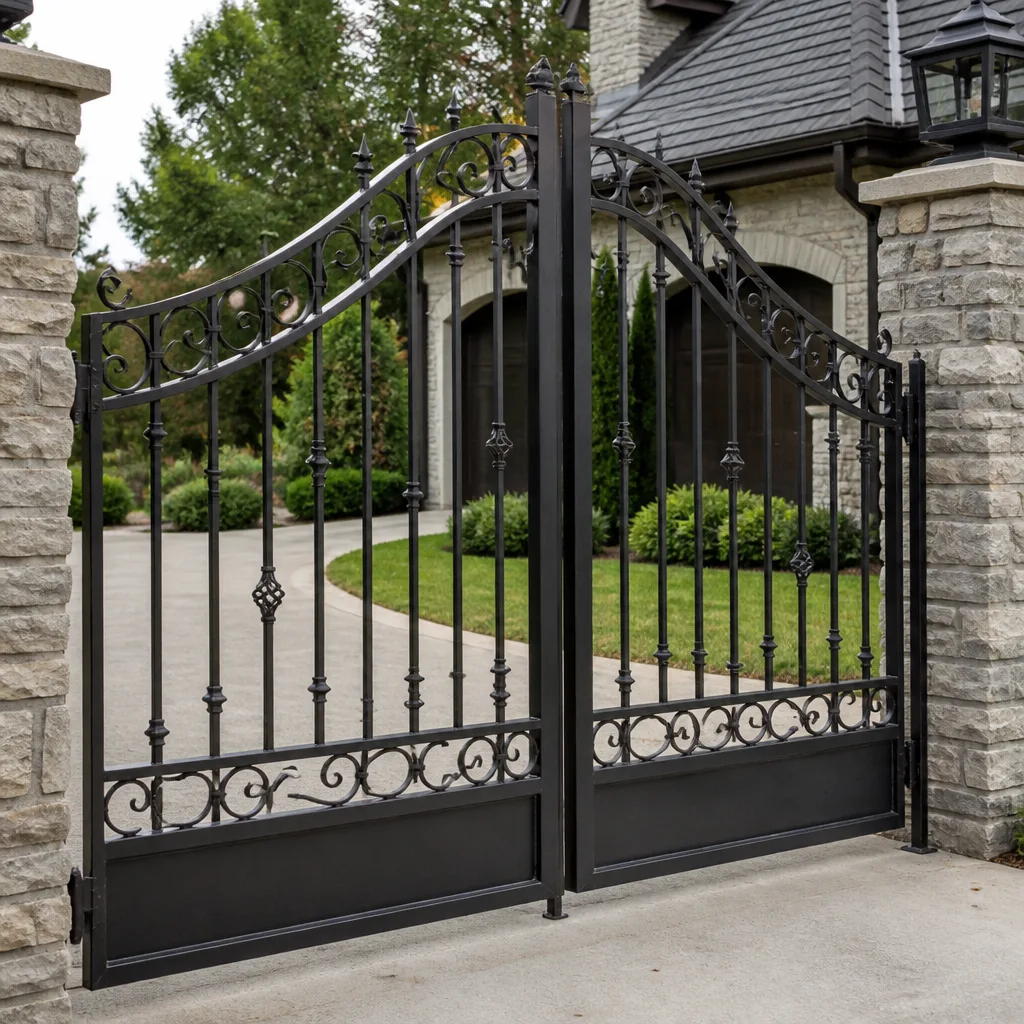 Wrought iron
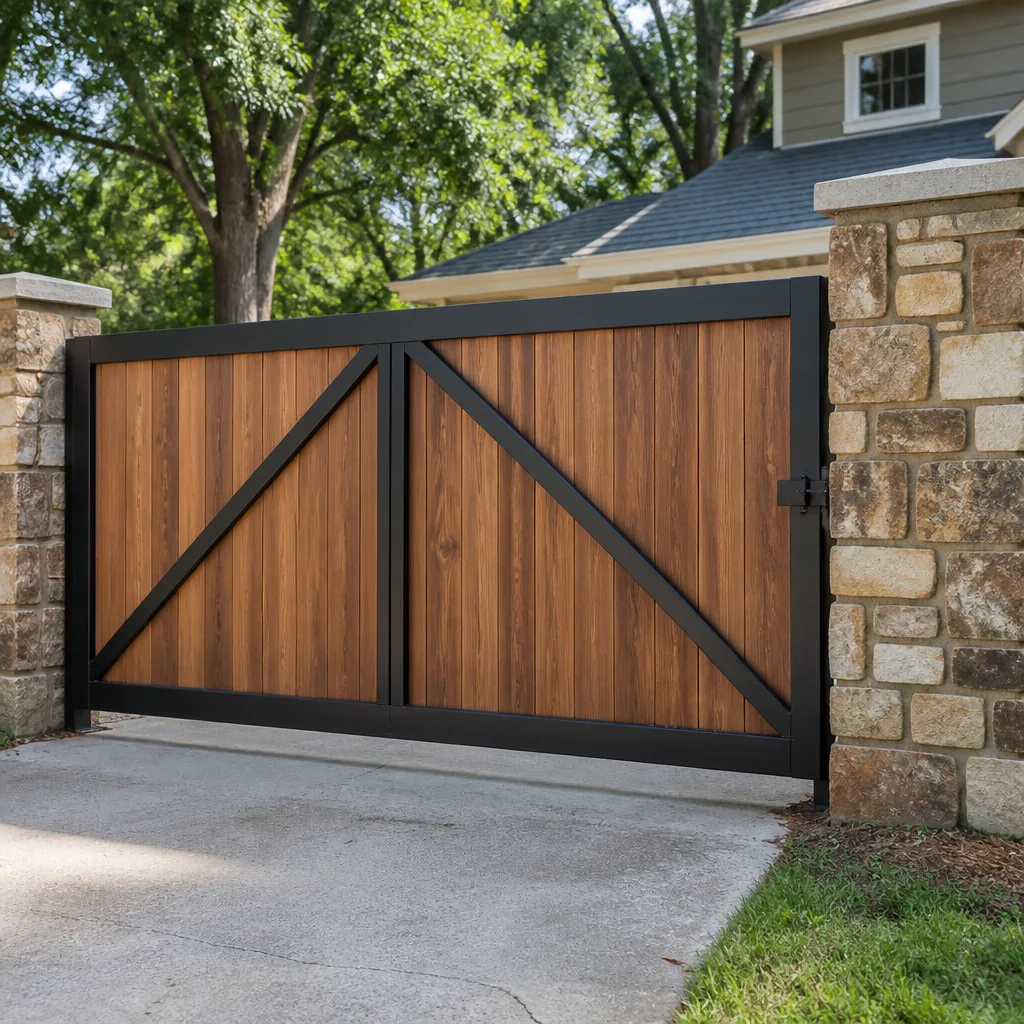 Wood & steel frame
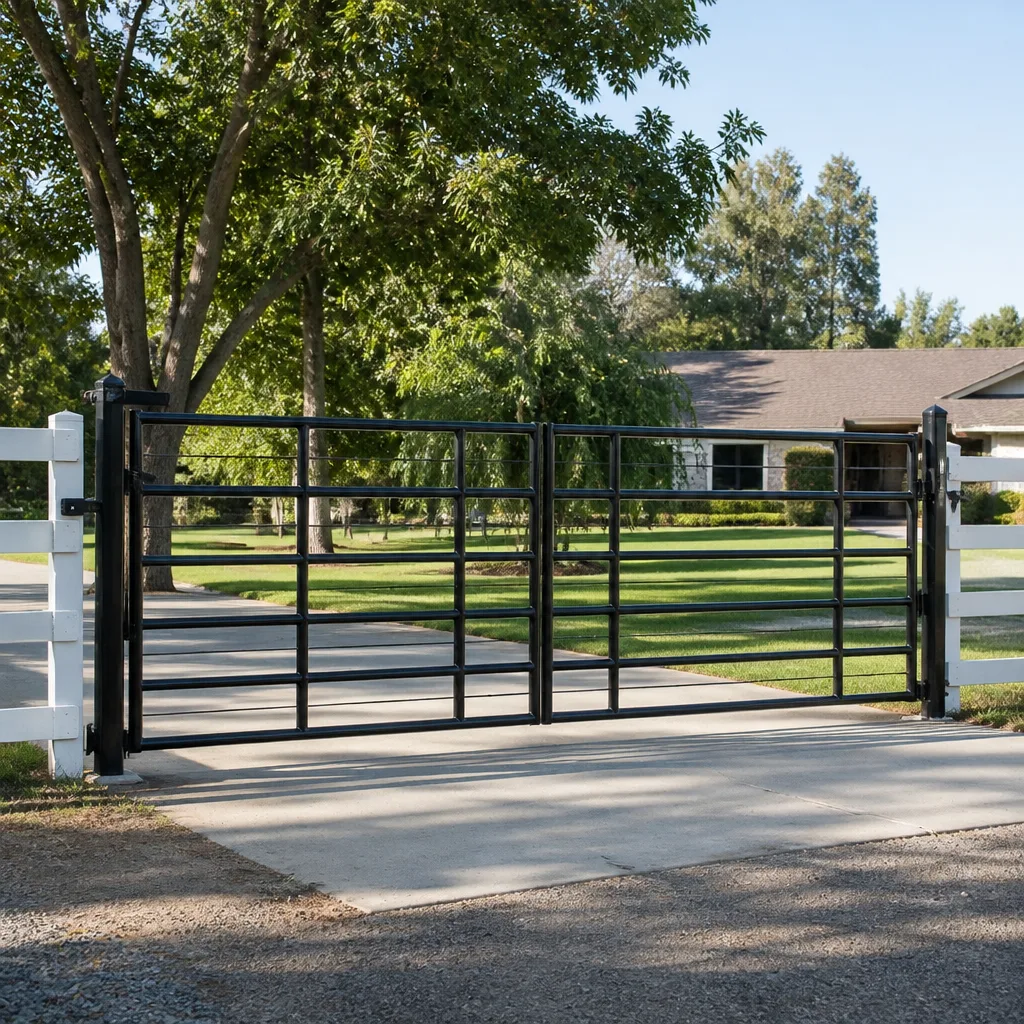 Farm & ranch
 Sliding driveway gates
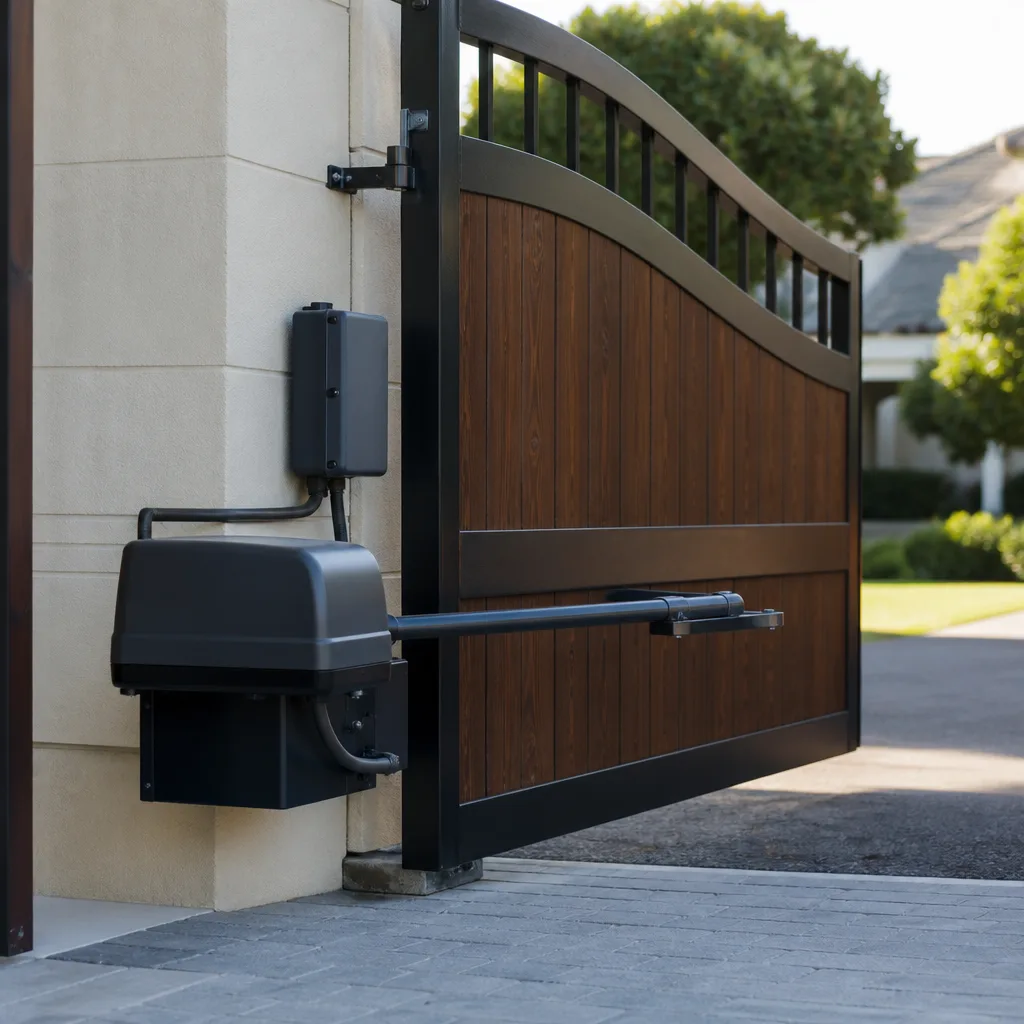 LiftMaster operators
Free on-site gate assessment - hinges, posts, and your LiftMaster or Nice gate operator checked before anything is quoted
The assessment is free and the quote is the invoice.
Get your free estimateGate Repair Troubleshooting: Common Problems and How to Fix Them
Replacing a gate operator when the real problem is a $12 photo-eye misaligned by a sprinkler head is one of the most common and expensive mistakes in residential gate repair. The symptom – gate won’t close – looks identical to a dead motor. This guide teaches a signal-chain diagnostic method that works from the power source outward through the control board, safety sensors, and mechanical drive, so you isolate the actual fault on your first pass. Whether you’re dealing with a gate that won’t budge, one that reverses for no reason, or a system that works only when it feels like it, the sequence below mirrors how our technicians diagnose gates across San Marcos, from Rancho Santa Fe Road corridor properties to newer subdivisions off Twin Oaks Valley Road.
Styles & brands we work with
- Wrought iron
- Wood & steel frame
- Farm & ranch
- Sliding driveway gates
- LiftMaster operators
Quick Answer
Gate troubleshooting should follow a signal-chain sequence: power source first, then control board, then safety sensors, then mechanical drive. The majority of automatic gate failures we see in San Marcos trace back to three causes: interrupted power (tripped breaker, dead battery backup, oxidized wire connection), safety sensor misalignment (photo-eyes knocked out of alignment by sprinklers or landscaping), or a worn mechanical component (drive gear, hinge, or wheel). Working through this sequence methodically prevents the single most expensive error in our Gate Repair services: replacing a $300 – $800 operator when the actual fault is a $12 – $45 sensor or a corroded wire nut.
Table of Contents
- The Signal-Chain Diagnostic Method
- Step 1: Power Source and Delivery
- Step 2: Reading the Control Board
- Step 3: Safety Sensors and Photo-Eyes
- Step 4: Mechanical Drive Components
- Why Your Gate Works Intermittently
- How to Read Fault Codes Without a Manual
- The Shadow Test: Photo-Eye Diagnosis in 60 Seconds
- Common Mistakes to Avoid
- When to Call a Professional
- Frequently Asked Questions
- The Bottom Line
The Signal-Chain Diagnostic Method
Automatic gates fail in predictable patterns, but the visible symptom rarely points to the actual fault. A gate that won’t close could be a dead motor, a misaligned sensor, a bad control board, or a tripped GFCI outlet on the side of your house. Guessing wastes hours and money.
The signal chain is the sequence of components that must all function for your gate to operate. Here is the order:
- Power source – the breaker, outlet, transformer, or battery supplying electricity to the operator.
- Control board – the logic board inside the operator that interprets inputs and commands the motor.
- Safety sensors – photo-eyes, edge sensors, and loop detectors that tell the board whether the gate’s path is clear.
- Mechanical drive – the motor, gear train, chain or belt, and the physical gate hardware (hinges, wheels, track).
Most homeowners start at step 4 because that’s where the symptom lives – the gate isn’t moving, so the motor must be bad. In our experience across hundreds of San Marcos gate repairs, the failure point is roughly evenly split between electrical (steps 1 – 2) and mechanical (step 4), with safety sensors (step 3) causing a disproportionate share of “won’t close” complaints (see How to Hire a Gate Repair Contractor in San Marcos: A Step-by-Step Guide for when to call a pro). Working the chain in order means you never replace a downstream component before confirming the upstream ones are clean.
This method applies to every automatic system we service, from a basic Gate Repair in San Marcos call on a residential swing gate to commercial slide operators. It is the same sequence our technicians use, and it’s why diagnostic speed and accuracy define gate-only specialists: we’re not guessing across five trades, we’re working one system end to end.
Step 1: Power Source and Delivery
Before touching anything mechanical, verify that power is reaching the operator. Automatic gate operators run on low-voltage DC internally, but most residential systems convert from standard 120V AC at a transformer or dedicated outlet. Here is the quick-check sequence:
- Check the breaker. Gate circuits are often labeled “gate” or “driveway,” but older San Marcos homes built before the 1990s sometimes have the gate circuit mislabeled or piggybacked onto an exterior outlet circuit.
- Check the GFCI outlet. Most residential operators plug into a GFCI outlet on the exterior wall near the motor. A tripped GFCI kills the whole system. Press the reset button firmly.
- Check for a disconnect switch. Many operators, including LiftMaster and DoorKing models, have a small toggle or pull-switch near the motor that shuts off power for manual operation. If someone pulled it to open the gate by hand during a power outage, the system will stay dead until the switch is restored.
- Listen for the transformer. A functioning transformer hums faintly. Dead silence with confirmed outlet power usually means a failed transformer.
Battery backup systems add a layer. Homes in San Marcos with solar or no backup generator often have gate operators with battery backup that keeps the gate functional during SDG&E outages. If your gate ran fine during the last outage but now behaves oddly, the battery may have discharged and failed to recharge.
Symptoms of a power-delivery problem: no LED lights on the operator, no click from the board when you trigger a remote, and no response from the keypad. Before blaming the board or motor, test the outlet with a lamp or multimeter. A dead outlet means the problem is in your home’s electrical system, not the gate.
Wire connections degrade over time, especially in coastal-adjacent climates. San Marcos sits inland enough to avoid direct salt fog, but our dry heat and occasional Santa Ana winds still accelerate oxidation on exposed terminals. A corroded wire nut on a swing arm operator can present exactly like a dead board. If you’re comfortable with basic electrical safety, killing power at the breaker and inspecting for green crust on the screw terminals is a legitimate diagnostic step. If you’re not comfortable, this is where a specialist call is worth it.
Step 2: Reading the Control Board
Once you’ve confirmed power is reaching the operator, the control board is the next stop. This is the brain of the system, and every major brand communicates fault conditions through LED behavior, either steady, blinking in patterns, or color-coded.
Here is what to look for on the three most common residential brands we service:
- LiftMaster: Most LiftMaster residential boards have a diagnostic LED that blinks in sequences. A steady green typically means standby. Blinking patterns correspond to faults: two blinks usually indicate sensor obstruction or misalignment, five blinks often mean the motor overheated. The exact meaning varies by model, but the pattern itself tells you the board has power and is trying to communicate.
- DoorKing: DoorKing boards use multiple LEDs, usually labeled. A lit “Power” LED plus a flashing “Loop” LED means the board sees a phantom vehicle on the loop detector, which will prevent the gate from closing. A dark “Power” LED with confirmed incoming power points to the board itself.
- Linear: Most Linear operators use a single diagnostic LED with blink counts. Two blinks typically indicate a photo-eye problem, three blinks a motor or limit issue. The blink count is the key diagnostic.
No LED at all with confirmed input power is a strong sign the board has failed. But before condemning the board, check the glass fuse on the board itself. Most boards from LiftMaster, FAAC, BFT, and Linear have a small inline fuse – usually 1A to 5A – that sacrifices itself during a power surge. A blown fuse is a $2 fix. A board replacement is $200 – $600.
San Marcos sees periodic monsoon-season storms and occasional summer surges that can stress control boards, especially on properties without whole-house surge protection. We’ve replaced more boards after lightning-adjacent strikes in the hills east of San Elijo than for any other single cause.
This is where brand familiarity matters. Each board has its own LED language, its own reset procedure, and its own failure personality. A technician who sees gates every day from nine different manufacturers knows within minutes whether a board is salvageable. A generalist contractor who does gates twice a month often defaults to replacement simply because they can’t read the board.
Step 3: Safety Sensors and Photo-Eyes
Photo-eyes – also called photo sensors, safety beams, or photo-cells – are the single most common cause of “gate won’t close” calls across every brand we service, from Mighty Mule DIY kits to commercial DoorKing systems. They sit on either side of the gate opening, near the ground, and project an invisible infrared beam across the path. If the beam is broken while the gate is closing, the operator stops and reverses.
The problem: anything can break that beam. A sprinkler head that shifted a quarter inch. A potted plant that grew six inches. A plastic bag blown against the housing. A car parked slightly too close. Dust caked on the lens from months of dry San Marcos wind.
Here is the sequence we teach customers:
- Visually inspect both photo-eye housings. Look for cracked lenses, spider webs inside the housing, or accumulated dirt film.
- Clean both lenses with a dry microfiber cloth. Do not use glass cleaner – it can leave a film that scatters the beam.
- Check alignment. Most photo-eyes have a small alignment LED that glows solid when the beam is hitting the receiver. A blinking LED means the beam is close but not locked. A dark LED means no beam at all.
- Verify nothing is physically blocking the beam path. Walk the path from one eye to the other and look for vegetation, trash, or landscaping changes.
- Disengage the operator using the manual release (usually a pull handle or keyed release on LiftMaster and similar models).
- Try to move the gate by hand. A properly balanced gate should move with moderate resistance on level ground. If it moves freely, the gate hardware is okay and you can focus on the operator.
- Meanwhile, look at the drive gear inside the operator housing if access allows. A stripped gear shows flattened or missing teeth. If the gear is intact but the motor hums without moving, you have a seized motor or bound gear train.
- Thermal overload: Operators in direct sun on south-facing installations (common in San Elijo Hills and parts of Santa Fe Hills) can trip thermal overload protection on hot afternoons. The gate stops until the motor cools, then works again. Replacing an overheated motor with a better-rated or shaded installation solves it permanently.
- Loose wire connections: A wire nut that’s partially backed off makes contact when cold and separates when warm. Temperature cycling in San Marcos – cool mornings, hot afternoons – makes this pattern repeat on a daily schedule.
- Remote or receiver drift: Older fixed-code remotes lose programming slightly. Relearning the remote often resolves intermittent “sometimes the remote doesn’t work” complaints.
- Loop detector oversensitivity: A vehicle loop with sensitivity set too high can false-trigger randomly, causing the gate to think a car is on the loop and hold open or refuse to close.
- 1 blink: No problem, normal standby.
- 2 blinks: Photo-eye obstruction or misalignment.
- 3 blinks: Control board internal fault.
- 4 blinks: Motor circuit fault or overcurrent.
- 5 blinks: Motor overheat or duty-cycle exceeded.
- Solid green power LED only: Standby.
- Flashing loop LED: Vehicle loop detection active – may prevent closing.
- All LEDs off with confirmed power: Board fuse or board failure.
- Rapid flashing on power LED: Voltage supply problem.
- 2 blinks: Photo-eye fault.
- 3 blinks: Limit-switch or motor failure.
- 4 blinks: Obstruction detected during close.
- 5 blinks: Obstruction during open.
- Close the gate fully. If it won’t close, skip to step 2 and perform the test with the gate in any position.
- Locate the two photo-eye housings on opposite sides of the gate opening, mounted low near the ground.
- Stand outside the beam path and cast a shadow from your hand or a piece of cardboard across the receiver lens (the one with the alignment LED).
- Watch the receiver LED. If the beam is aligned, blocking it with your shadow will cause the LED to change state instantly – from solid to blinking or solid to off.
- Remove your shadow. The LED should return to its previous state within a second.
- Replacing the operator before checking the photo-eyes. The gate that won’t close is usually a sensor problem, not a motor failure. We’ve seen operators replaced in San Marcos when the actual fault was a photo-eye knocked off-axis by a landscape crew two days earlier.
- Pulling the manual release and leaving it disengaged. If you opened the gate by hand during a power outage and forgot to re-engage the operator, the motor will run and the gate won’t move. This misdiagnosis costs people hours of confusion.
- Lubricating hinges with WD-40. WD-40 is a solvent, not a lubricant. It cleans and then evaporates, leaving hinges drier than before. Use a lithium grease or a dry silicone lubricant on gate hinges and rollers.
- Ignoring a gate that’s getting progressively slower. A gate that took 5 seconds to open and now takes 8 is telling you something: the motor is working harder. In San Marcos heat, that extra strain shortens motor life significantly. Slow movement is always a diagnostic signal, not a personality quirk.
- Noting a “stored fault” and clearing it without finding the cause. Clearing fault codes without fixing the underlying condition works until the condition repeats. Then you’re back to the same problem, just with less patience.
- Mixing remote brands or replacing a remote without programming the board. A new remote doesn’t work until the operator learns it. Programming a LiftMaster remote to a DoorKing board (or vice versa) generally fails silently, leaving homeowners with a $50 paperweight.
The shadow test – described in detail below – confirms continuity in under a minute.
Photo-eyed related failures present as: the gate opens fine but won’t close, the gate starts closing then reverses halfway, or the gate closes only when you hold the button down.
In San Marcos, the number-one photo-eye offender is sprinkler overspray. Irrigation heads drift over the years, and a head that once wet the lawn now sprays directly onto the sensor housing. The water itself doesn’t break the beam, but mineral deposits build a crust on the lens, and eventually the beam is too scattered to register. If you see white crust on the lens, that’s your culprit.
Step 4: Mechanical Drive Components
With power, board, and sensors ruled out, you can now look at the mechanical side: the motor, gear train, chain or belt, and the physical gate hardware.
The motor is rarely the actual point of failure. More often, a worn drive gear strips while the motor itself is fine. Distinguishing the two requires no tools:
A worn drive gear is a $30 – $80 part. A replacement motor is $150 – $400. Replacing the motor when the gear is the fault is another version of the $12-sensor problem, just with more zeros.
Gate hardware itself wears in predictable patterns. Swing gates stress the top hinge on the post side – the one carrying the most weight. Slide gates stress the drive wheels and track, especially if the track collects debris. In San Marcos, decomposed granite from hillside landscaping is a common contaminant: it works its way into roller bearings and accelerates wear. If your slide gate shudders or makes a grinding noise, check the track and wheels before touching the operator.
A gate that’s hard to move by hand was hard to move by motor, too. And that means the motor has been working against excess resistance for months, which shortens its life. Fixing the hardware early saves the motor later.
Why Your Gate Works Intermittently
Intermittent faults are the most frustrating category of gate repair because they’re never happening when you’re looking. The gate worked this morning, failed at noon, worked again at 3 p.m., and failed when your tenant tested it at 6. By the time anyone troubleshoots it, everything checks out.
Here’s the insight most people miss: a gate that “works intermittently” in a specific pattern is often a battery backup in float-charge failure. The operator runs on low-voltage DC, and many residential and commercial operators include a battery backup that keeps the system alive during brief power interruptions. When the float charger fails, the battery never fully recharges. The gate runs fine while the battery holds partial charge, then fails once voltage drops below a threshold, then recovers after a rest period lets the battery bounce back slightly. The result: a gate that works “whenever it wants to.”
If your gate has a battery backup and you notice failures happening later in the day or after the gate has cycled several times, have the battery load-tested. A failing battery is a $40 – $120 replacement. Calling it an “electrical gremlin” and living with it for six months is the expensive option.
Other intermittent causes we see regularly in San Marcos:
How to Read Fault Codes Without a Manual
No service manual? You can still decode most operator fault conditions by counting LED blinks and knowing what each count means on the major residential brands. Here is the shorthand our technicians use:
LiftMaster (residential swing/slide operators):
DoorKing (residential and light commercial):
Linear (residential operators, common on dual-swing installs):
These blink codes are brand defaults, but individual models vary. The logic is consistent across every brand: steady equals okay, blinking equals a stored fault, and the count narrows the subsystem. If you can determine the blink count and the brand, a phone call to a gate specialist will often get you a diagnosis before anyone even comes out.
This is a direct benefit of factory-familiarity with brands like Electric Gate Repair in San Marcos systems: we know the blink languages because we see these boards weekly, not because we looked up a manual for the first time on-site.
The Shadow Test: Photo-Eye Diagnosis in 60 Seconds
The shadow test confirms photo-eye alignment without any tools and without touching the sensors. Here’s how it works:
If the LED does not react when you block the beam, the beam isn’t reaching the receiver. The causes, in order of likelihood: physical misalignment, a dirty lens, a bad transmitter (the eye on the other side), or a broken wire between the sensor and the board.
If the LED reacts to your shadow but the gate still won’t close, the sensor is aligned but the board isn’t reading it – which points to a wiring problem between the sensor harness and the control board, or a board input failure.
The shadow test works on every photo-eye system we service, from Ghost Controls DIY installations to Viking commercial operators. The principle is universal: the receiver’s LED tells you whether the beam is present and whether the sensor is communicating. In under a minute, you’ve isolated the sensor as good or bad, and you know whether the problem is upstream (alignment, lens, transmitter) or downstream (wiring, board).
For San Marcos homeowners, this test is especially useful after landscape work. New plantings, regraded beds, or a moved irrigation line can shift a sensor housing by half an inch – enough to kill the beam but not enough to be obvious on visual inspection.
Common Mistakes to Avoid
When to Call a Professional
Some gate repairs are safe and reasonable for a careful homeowner: cleaning photo-eyes, resetting a GFCI, re-engaging a manual release. Others are genuinely dangerous. High-tension torsion springs on some swing gate designs store enough energy to cause serious injury if they release unexpectedly. Gate operators run on live electrical circuits, and a control board replacement means working inside a powered enclosure. Slide gates are heavy enough to crush a person if the gate comes off its track during service. If you’re not certain about the failure point or the fix involves springs, wiring at the board level, or lifting a gate off its hinges, stop. A trained gate technician performs that work safely and with the correct equipment. Gate Repair San Marcos offers Gate Installation in San Marcos and repair services across the city – call (877) 798-8589 for a free estimate on any gate problem or to schedule a diagnostic visit.
Frequently Asked Questions
A gate that opens but won’t close is almost always a safety sensor issue – the photo-eyes are misaligned, dirty, or obstructed. Check the lenses for dirt or mineral buildup, verify nothing is blocking the beam path, and look at the receiver LED. In San Marcos, sprinkler overspray onto photo-eye lenses is the most common trigger.
Gate repair in San Marcos typically runs $150 – $400 for common fixes like photo-eye realignment, limit switch adjustment, or drive gear replacement, while control board replacements range from $250 – $800 depending on brand and model. For an exact quote on your specific problem, call (877) 798-8589 – estimates are free.
Yes, most gate repair problems in San Marcos can be diagnosed and fixed the same day, especially when the issue involves photo-eyes, limit switches, or programming. Larger repairs like board replacement or motor rebuilds may require parts ordering, depending on the brand and model.
We service systems from LiftMaster, FAAC, BFT, Linear, Viking, Ghost Controls, DoorKing, Elite, and Mighty Mule – covering entry-level DIY kits through commercial operators. Brand-agnostic troubleshooting means we diagnose the actual cause rather than defaulting to an unnecessary part replacement. For additional maintenance tips, explore more guides & resources.
Intermittent gate operation often points to a battery backup in float-charge failure, a loose wire connection affected by temperature changes, or a loop detector set too sensitive. The failure pattern matters: if it worsens later in the day or after multiple cycles, have the battery load-tested.
Cleaning photo-eyes, resetting breakers, and re-engaging a manual release are safe homeowner tasks, but anything involving high-tension springs, board-level wiring, or lifting a gate off its track should be left to a trained professional. Slide gates and spring-loaded swing gates pose real crushing and injury risks when handled incorrectly.
The Bottom Line
Gate troubleshooting works when you follow the signal chain: power, board, sensors, mechanical drive. Symptom-first diagnosis leads to expensive wrong answers – a $300 – $800 operator replacement for a $12 misaligned sensor, or a motor replacement for a $40 drive gear. Learn to read the LED on the receiver and the fault codes on the board, and you’ll know within minutes whether you’re looking at a cleaning job, a parts replacement, or a call for help. Most San Marcos gate failures trace to photo-eye misalignment from landscaping, power interruptions from surge stress, or worn mechanical components from years of dry-season dust and heat. Work the sequence, rule out the cheap stuff first, and you’ll solve the real problem the first time. For anything beyond your comfort level, call (877) 798-8589 – we specialize exclusively in gates, and the estimate is free.
Written by the team at Gate Repair San Marcos, serving San Marcos since 2011.
See the difference
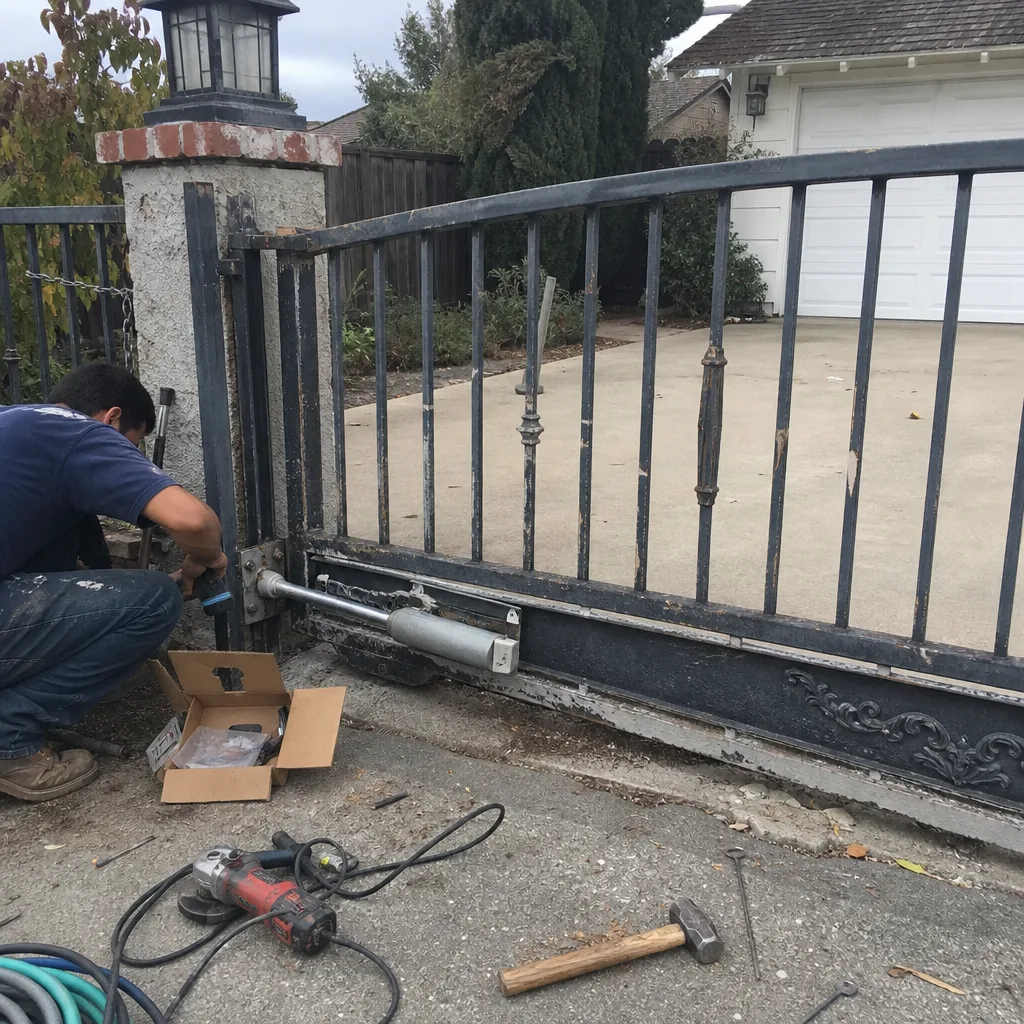
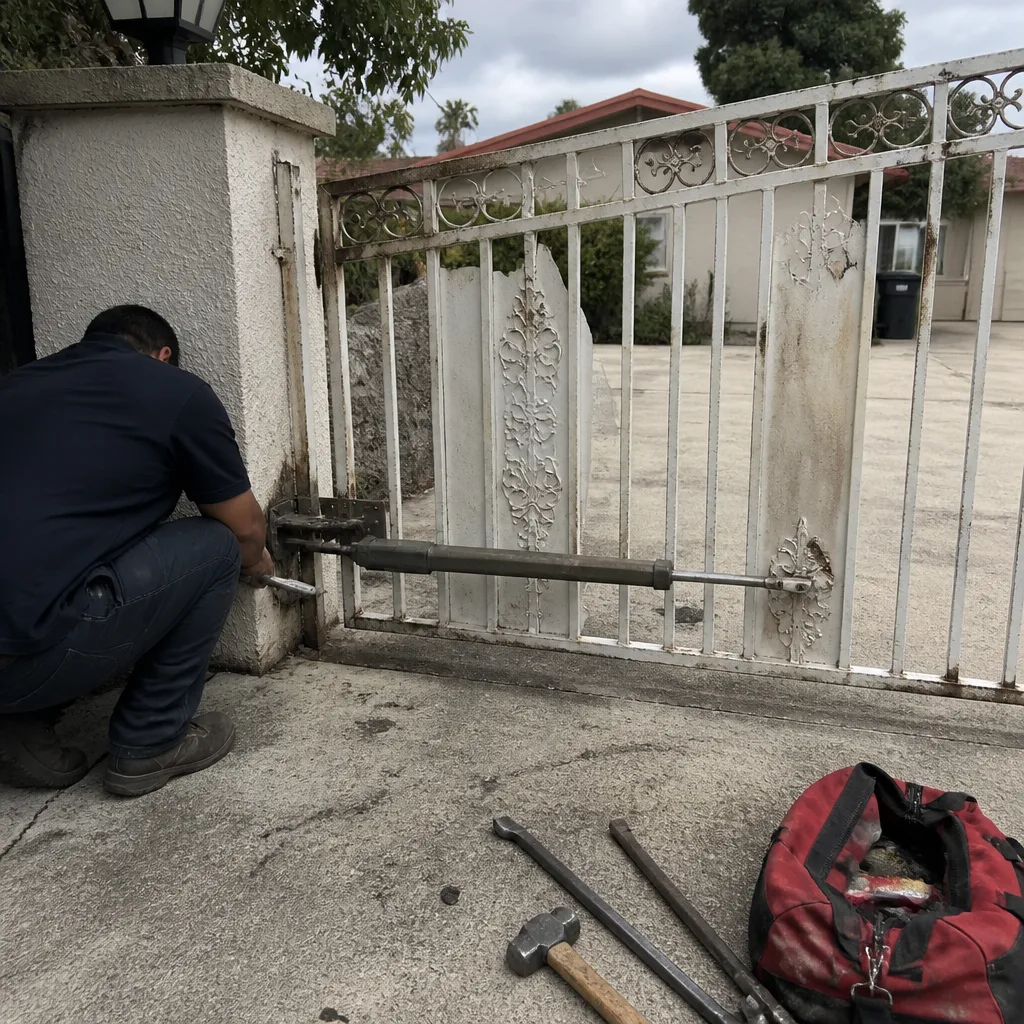 Before
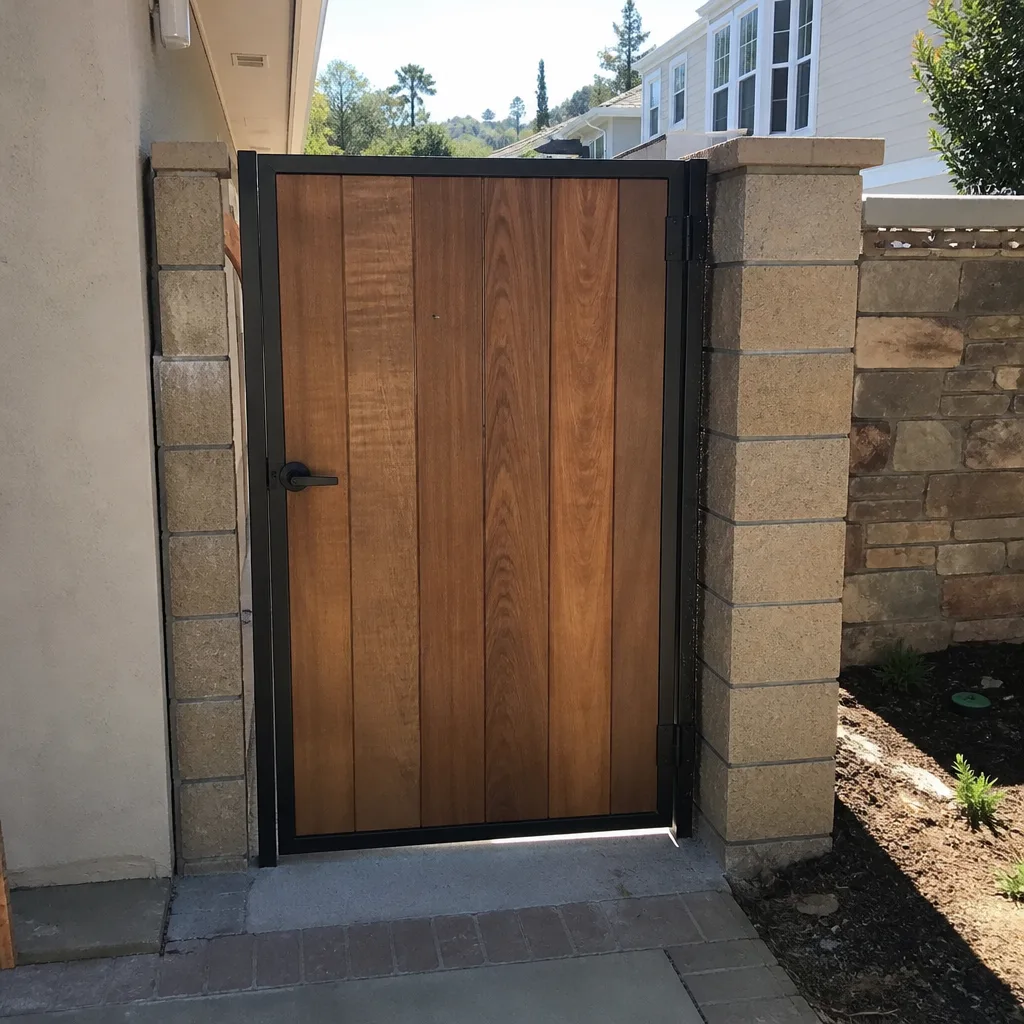
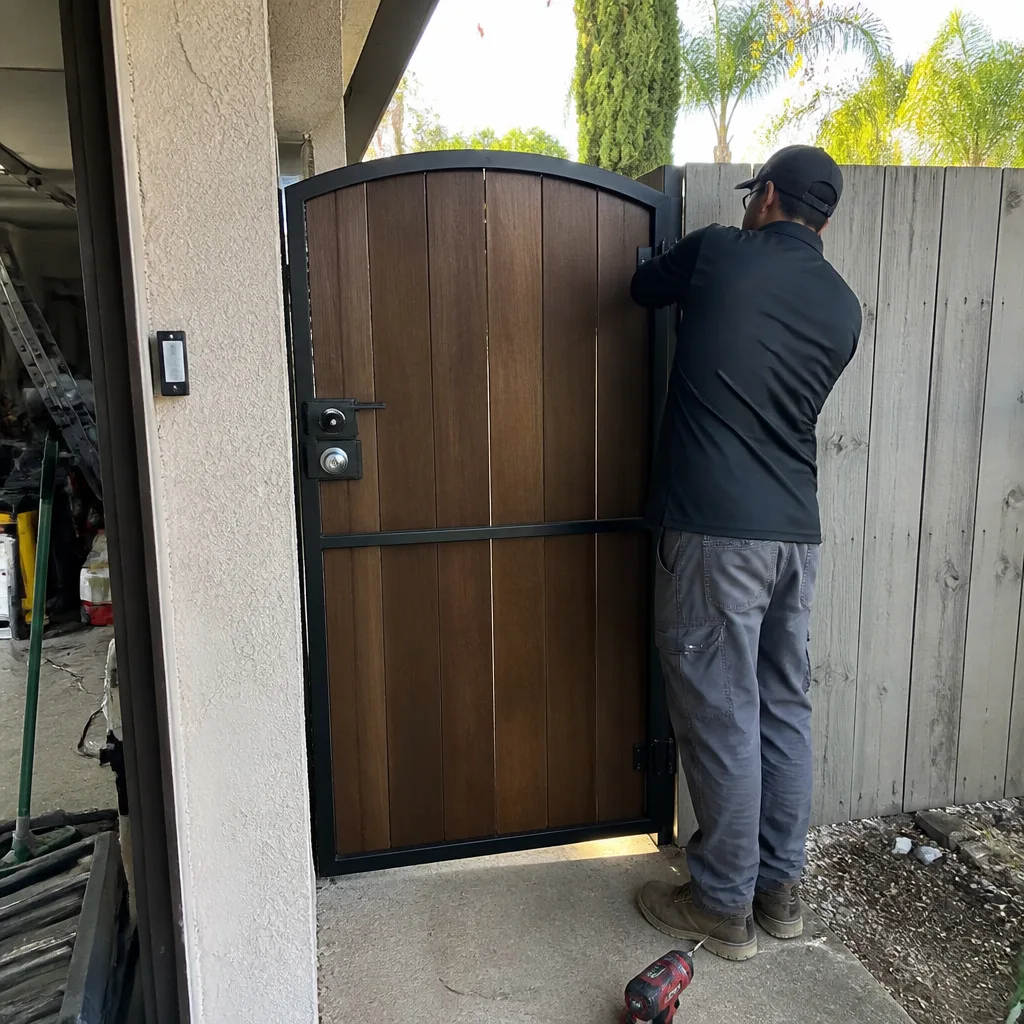 After
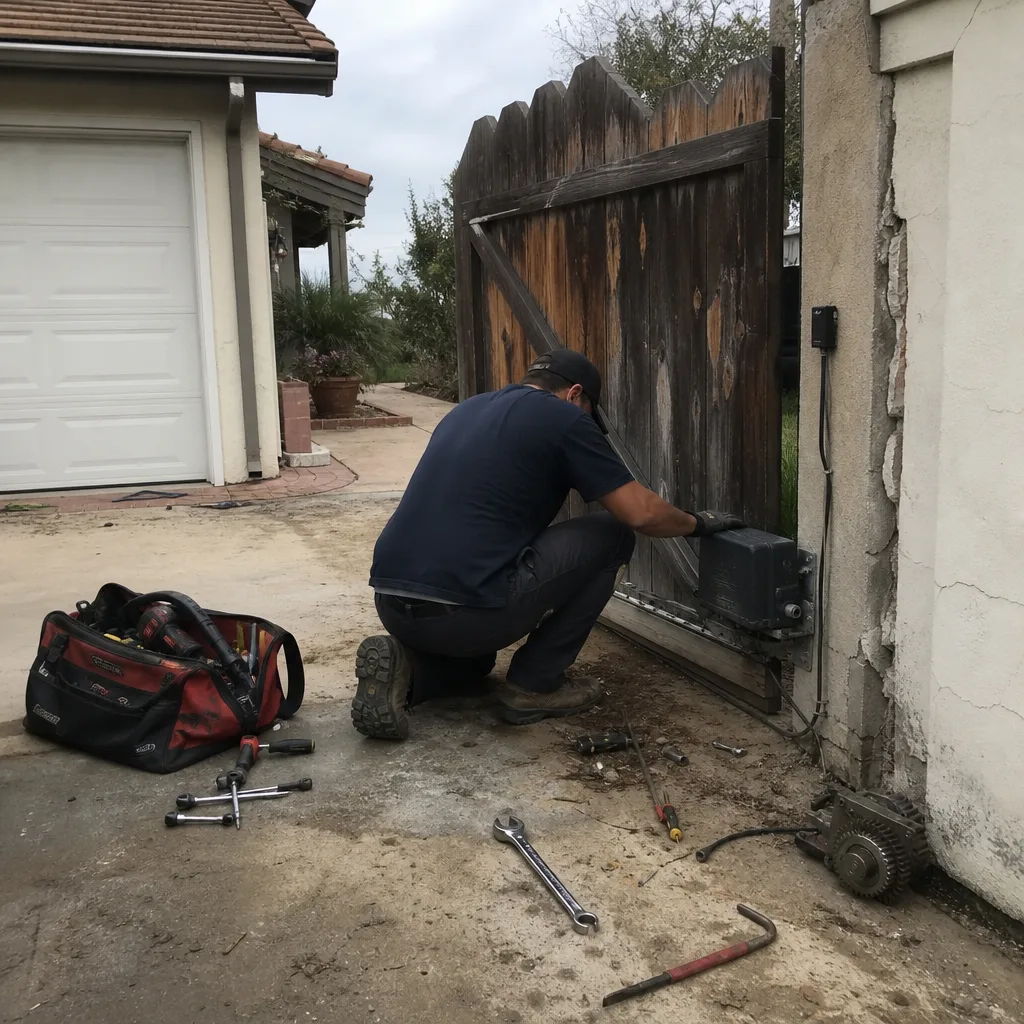 Before
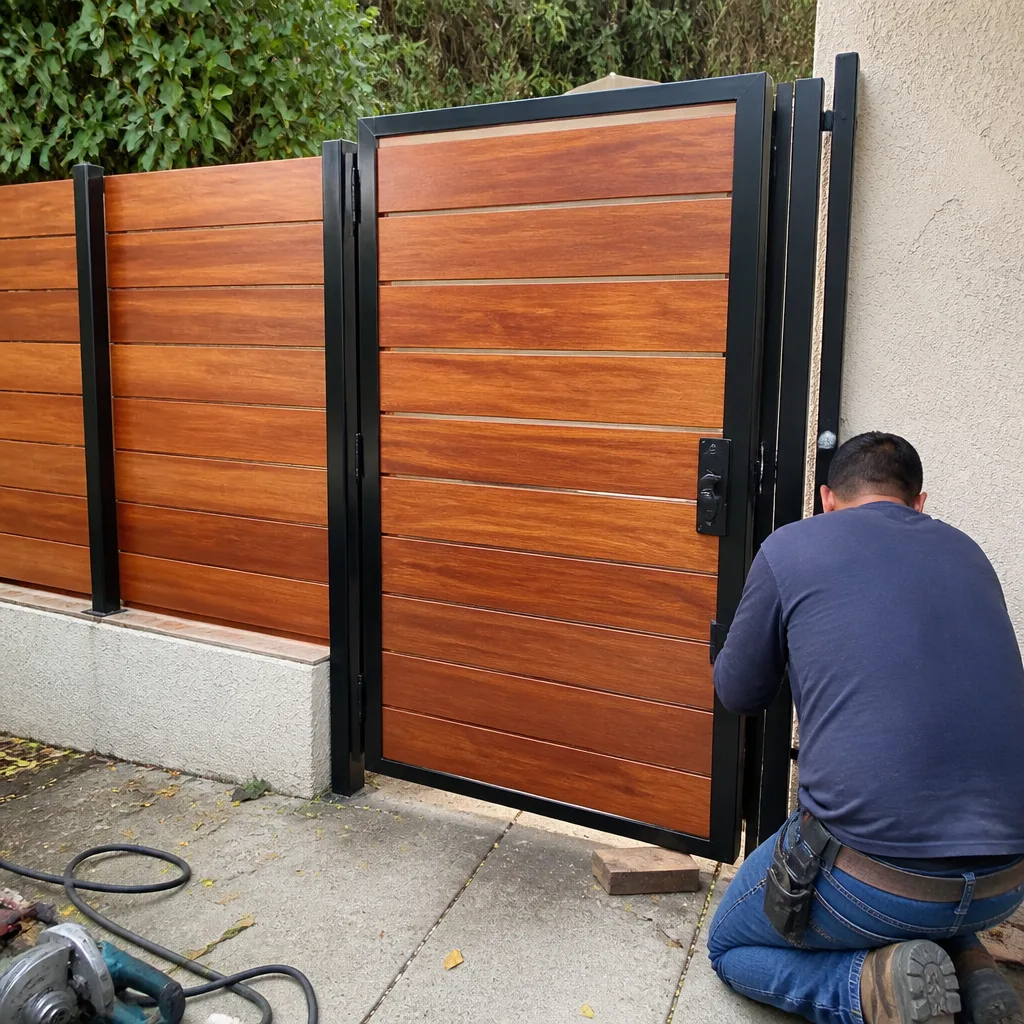 After
 Before
 After